
Shoe fitting workflow: your step-by-step guide for 2026
A good shoe fitting workflow follows a fixed sequence: measure both feet at the right time of day, assess foot type and arch profile, try shoes with the correct socks, run through a structured fit checklist, and verify comfort under movement before you buy. Get that sequence right and you avoid the most common problems — toe compression, heel slip, and pressure points that only show up after a week of wear.
The core elements of any effective fitting process are:
- Foot measurement: length, width, and arch length, taken late in the day when feet are at their largest
- Foot shape analysis: arch type (flat, neutral, or high), toe structure, and any existing conditions
- Toe box space: approximately 1–1.5 cm between your longest toe and the front of the shoe
- Heel lockdown: snug without gripping; up to 3 mm of slip on a new shoe is normal
- Width check: the widest part of your foot should align with the widest part of the shoe
- Gait and activity: how you move and what you need the shoe to do shapes every other decision
- Personal preferences: style, material, and any orthotic requirements
No single element works in isolation. A shoe that passes the toe-room test but fails on width will still cause blisters. Work through every point, in order.
How to prepare for shoe shopping by understanding your feet
Before you set foot in a shop or browse online, knowing your own feet saves time and prevents expensive mistakes. Most people skip this stage entirely, which is why so many end up in shoes that are technically the right length but wrong in every other dimension.
Measure at the right time. Feet swell throughout the day due to activity and gravity, so measuring in the late afternoon or evening gives you the most accurate reading of your peak size. A shoe that fits perfectly at 9 AM may feel tight by 3 PM.
How to measure at home:
- Stand on a blank sheet of paper on a hard floor, with your full weight on one foot
- Trace around the foot with a pen held perpendicular to the paper
- Mark the longest point (which may be your second toe, not your big toe) and the back of the heel
- Measure the distance in centimetres for length, and across the widest part of the ball for width
- Repeat for both feet; most people have one foot slightly longer than the other
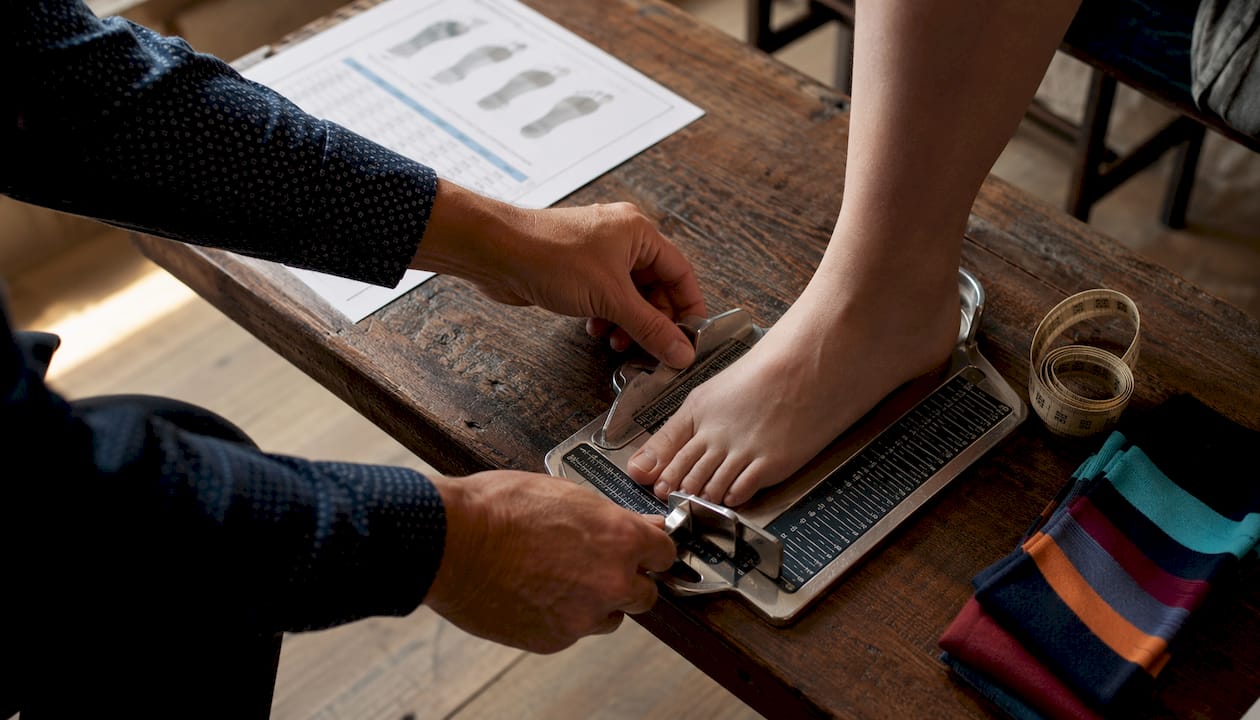
A Brannock device, available in most shoe shops, captures length, arch length, and width in one step. The arch length measurement is particularly useful: it tells you where the shoe’s flex point should align with your foot, which affects both comfort and injury risk over time.
Identify your foot type. Flat feet need stability shoes; high arches need cushioned neutral shoes; neutral arches have the broadest range of options. The wet footprint test is the simplest way to check: step onto a dark surface with a wet foot and look at the imprint. A full outline with no arch gap indicates flat feet; only the heel, outer edge, and ball visible means high arches; a moderate arch with roughly half the midfoot showing is neutral.
Think about your activity and any existing conditions before you go. A shoe for daily commuting has different requirements from one for a 10K run or a long shift on your feet. Note any pain history, bunions, or orthotics you use regularly.
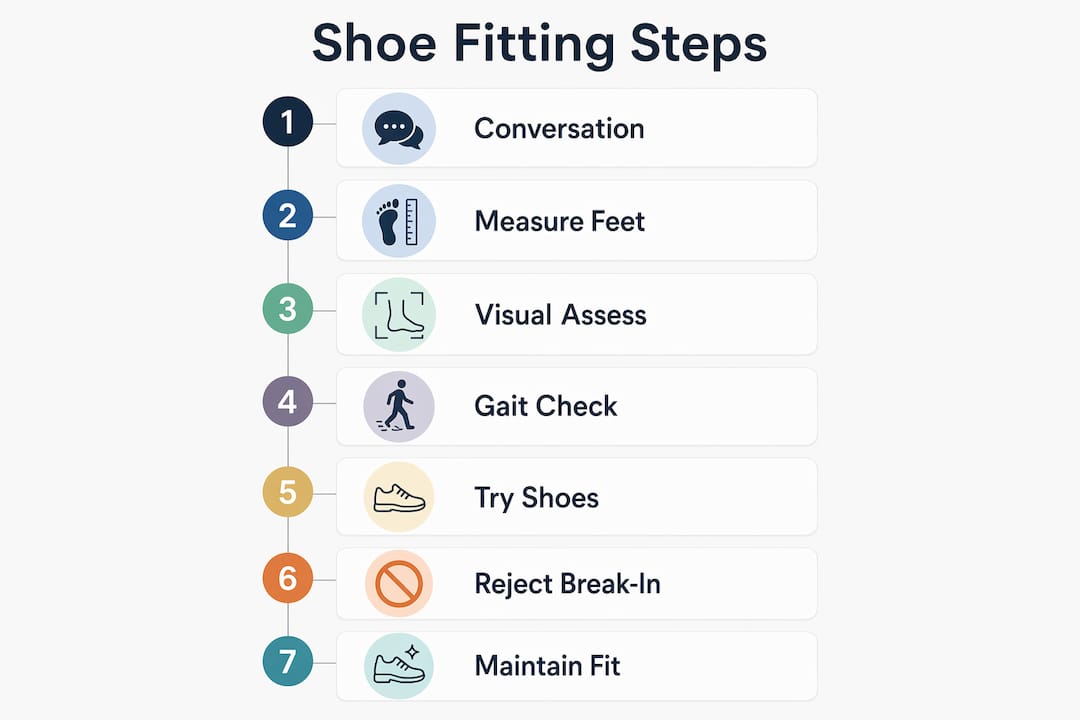
The shoe fitting workflow: a step-by-step fitting process
The fitting process itself has a clear order. Skipping steps, particularly the gait observation and movement testing, is where most people go wrong.
Step 1: Start with a conversation about your needs
Whether you are working with a trained fitter or shopping independently, begin by establishing what you actually need. Activity level, current shoe problems, injury history, and goals all shape which shoes are worth trying. A fitter who jumps straight to the shoe wall without asking these questions is not running a proper fitting.
Step 2: Measure your feet precisely
Use a Brannock device or a 3D foot scanner for the most complete picture. Modern 3D scanners can measure foot dimensions to within 1 mm accuracy, capturing length, width, arch length, and girth simultaneously. Always measure both feet and note any size difference.
Step 3: Assess foot structure visually
Look at arch height, toe alignment, callus patterns (which reveal where your foot takes repeated pressure), and heel shape. A narrow heel with a wide forefoot is a specific challenge that rules out certain brands entirely.
Step 4: Observe your gait
Walk or jog naturally so a fitter, or you yourself, can check for overpronation (ankles rolling inward), supination (rolling outward), and whether you strike with your heel, midfoot, or forefoot. This determines where the shoe needs to provide support and cushioning. For a deeper look at what gait reveals about foot health, gait analysis is worth exploring before you shop.
Step 5: Try on a curated selection with the right socks
Wear the same socks you intend to use with the shoe. Athletic socks are usually thicker than dress socks, and that difference shifts the fit noticeably. Lace the shoes properly before assessing anything.
Pro Tip: Always fit to the larger foot. If your feet differ in size, wear the shoe that fits the bigger foot correctly and use a thin insole or tongue pad in the other shoe.
Step 6: Run through the fit checklist
- Toe box: roughly 1–1.5 cm of space between your longest toe and the shoe’s end; all five toes should splay freely
- Width: the widest part of your foot aligns with the widest part of the shoe; no overflow over the midsole edge
- Heel grip: snug but not gripping; up to 3 mm of slip on a new shoe is acceptable
- Arch alignment: the shoe’s arch support sits where your arch actually is, not too far forward or back
- No pressure points: walk for at least five minutes; zero hot spots or pinching anywhere
- Bend test: flex the shoe at the forefoot; it should bend where your foot bends naturally, at the metatarsophalangeal joints
- Movement test: walk the shop, jog if possible, and replicate the movement you will actually use the shoe for
Step 7: Reject the break-in myth
A well-fitting shoe feels comfortable on the first wear. The idea that you need to “break in” a shoe before it stops hurting is a common misconception that leads people to tolerate pain they should not. If a shoe causes discomfort during the try-on, it will cause more discomfort after a week of wear, not less.
Choosing shoes for special foot health needs and active lifestyles
Foot conditions change the fitting priorities significantly. Comfort and support take precedence over style when a condition is involved, and the wrong shoe can worsen an existing problem quickly.
Common conditions and what to look for:
- Flat feet / overpronation: stability or motion-control shoes with a firm medial support, a straight or semi-curved last, and a supportive midsole; avoid minimalist or highly flexible designs
- High arches / supination: neutral cushioned shoes with extra shock absorption in the heel and forefoot; a curved last accommodates the rigid high-arched foot; avoid stability or motion-control shoes
- Bunions: wide, round, or oblique toe box that does not compress the first metatarsophalangeal joint; soft, flexible upper materials such as mesh or knit; the shoe must bend at the ball of the foot
- Plantar fasciitis: structured arch support, a firm heel counter, and at least 10 mm of heel-to-toe drop; rocker-bottom designs reduce the range of motion needed at toe-off
- Diabetic neuropathy: seamless interiors, deep toe boxes, and extra depth for custom diabetic insoles; always have feet measured by a certified pedorthist, since neuropathy can mask pain signals that would otherwise flag a poor fit
- Morton’s neuroma: wide toe box, a metatarsal pad or dome built into the insole, and low to moderate heel height (under 5 cm) to reduce forefoot pressure
Orthotic compatibility matters if you use custom or over-the-counter insoles. Check that the shoe has a removable factory insole and enough depth to accommodate your orthotic without cramping the toe box. Shoes with a rigid, non-removable insole rarely work with aftermarket orthotics.
For active use, gait and biomechanics drive the selection. A trail runner needs lateral stability and grip that a road shoe does not. A shoe for long shifts on hard floors needs different cushioning from one used for gym work. Match the shoe’s construction to the specific demands of your activity, not just a general “sport” or “casual” category.
How to verify your shoe choice and maintain comfort over time
Buying the shoe is not the end of the process. Verifying the fit after purchase, and monitoring it as the shoe ages, prevents the gradual discomfort that builds when people ignore early warning signs.
Post-purchase fit verification checklist:
- Walk for at least 20–30 minutes on your first wear; no hotspots, rubbing, or heel slip beyond the initial 3 mm
- Check that your toes are not pressing against the front of the shoe after the first full day of wear
- Confirm the shoe bends where your foot bends, not in the arch
- Note any areas of redness on your feet after removal; these indicate pressure points that will worsen
Monitor fit changes over time. Feet change size with age, weight fluctuation, pregnancy, and injury. A shoe that fitted well two years ago may not fit the same foot today. Re-measure annually if you wear the same styles regularly.
Shoe lifespan. Running shoes are typically designed for 300–500 miles before the midsole cushioning degrades enough to alter your gait. For everyday shoes, press your thumb into the midsole: if it does not compress and spring back, the support has broken down. Place the shoe on a flat surface; if it tilts or rocks, the outsole has worn unevenly and is already changing how you walk.
Shoe care extends lifespan and preserves fit. Rotate between at least two pairs to allow the midsole to recover between wears. A shoe cleaning cloth removes surface dirt that degrades upper materials over time. Keep shoes away from direct heat, which warps the last and breaks down adhesives. For a full maintenance routine, the shoe maintenance workflow guide covers the practical steps in detail.
Expert strategies that improve shoe fitting success rates
The difference between a fitting that ends in a comfortable purchase and one that ends in a return often comes down to process quality, not product quality.
Use data where it is available. 3D foot scanning gives a level of measurement precision that a tape measure cannot match, capturing arch length, girth, and width simultaneously. That data is most useful when it is interpreted alongside gait observation and personal history, not treated as a standalone answer. A scan tells you what the foot looks like; it does not tell you how the foot moves or what the person needs the shoe to do.
Limit the options. Research into shoe selection workflows consistently shows that 3–5 curated options improve decision clarity and user trust compared to presenting a full wall of choices. When someone is shown too many options, they tend to default to price or appearance rather than fit criteria. A short, targeted selection based on the fitting data keeps the focus on what actually matters.
Educate as you go. Explaining foot anatomy and fit criteria during the fitting process increases both satisfaction and the likelihood of a good long-term outcome. People who understand why a particular arch profile needs a particular type of support are far more likely to prioritise fit over aesthetics on the next purchase. This is not about lecturing; it is about connecting the measurement to the recommendation in plain language.
Communicate fit features clearly. Tell the person why the sock thickness matters, what the arch alignment check is actually testing, and what heel slip is and is not acceptable. These are not obvious to most people, and a fitter who explains them builds trust quickly.
For a broader look at how these principles apply to health-oriented footwear selection, the footwear selection guide from Ydauk covers the full picture in practical terms.
Ydauk: footwear built around how feet actually work
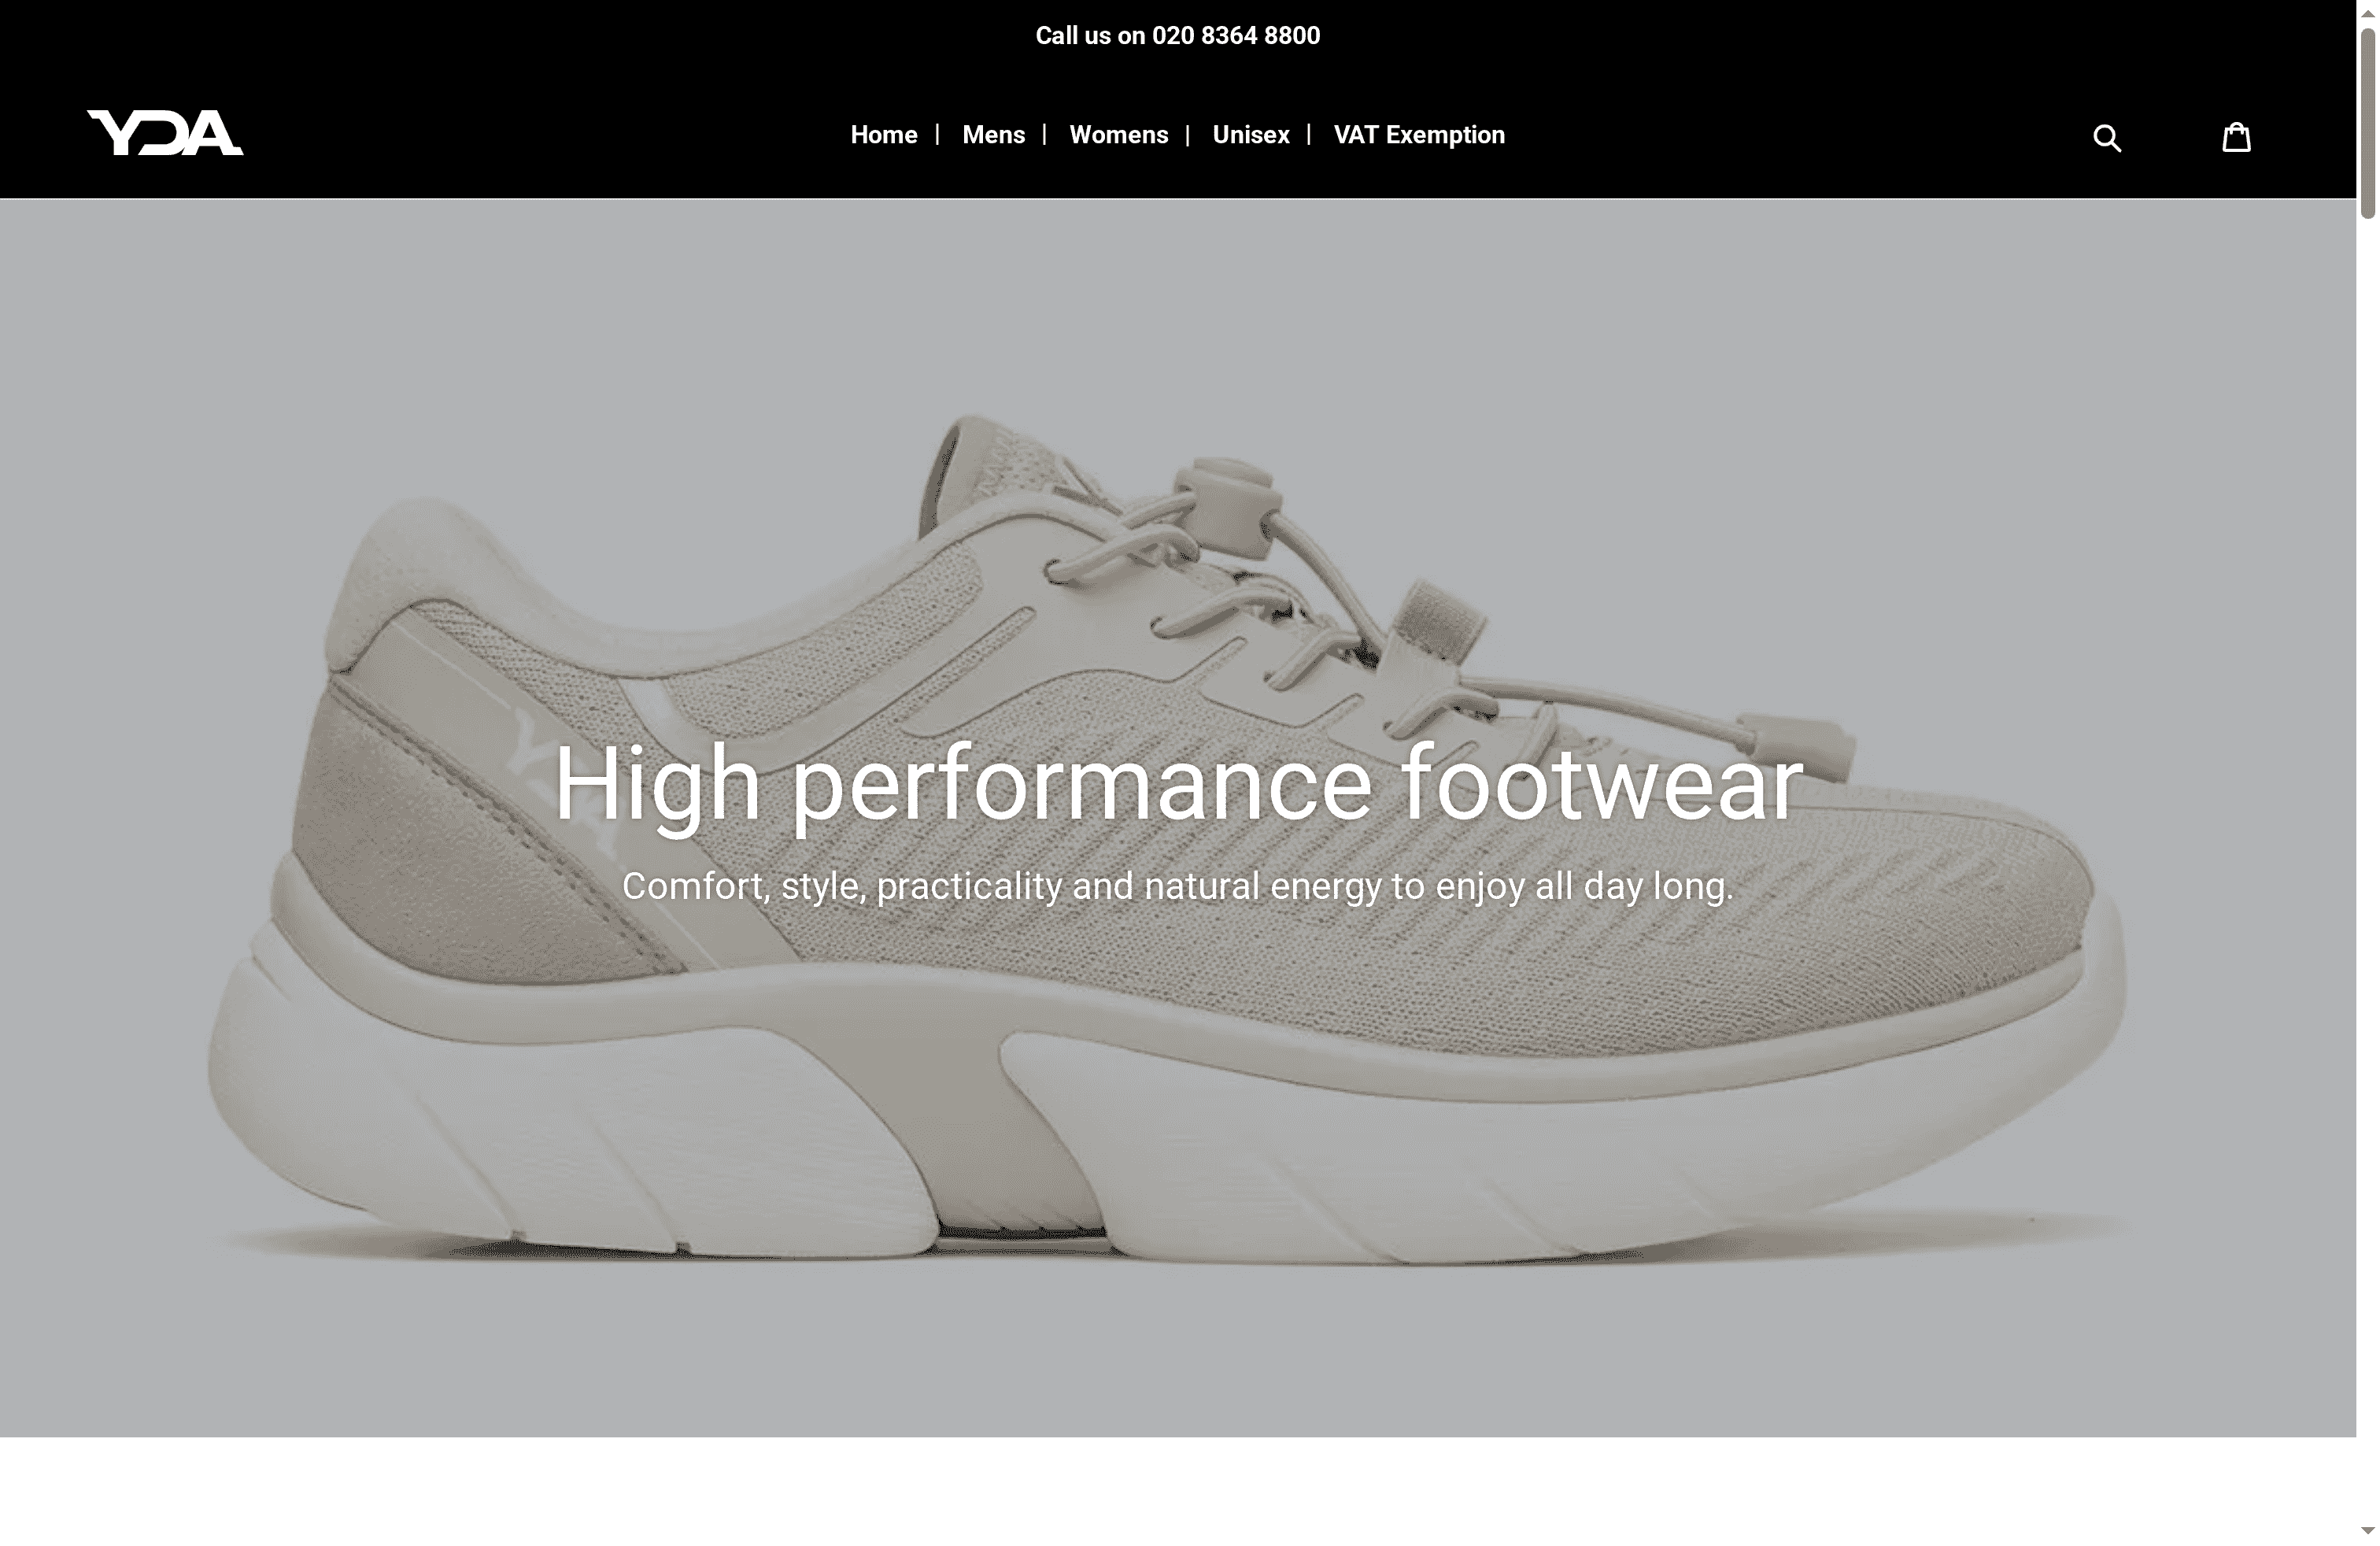
Ydauk designs shoes around the principles that make a fitting process work: foot health, comfort under real conditions, and technology that supports rather than ignores biomechanics. The YDA Technology behind each pair is built to align with the way feet move, not just the way they look in a size chart. If you want footwear that starts from the right place, explore the YDA shoe technology to see how it translates into everyday wear.
Key takeaways
A proper shoe fitting workflow combines accurate measurement, foot type assessment, structured fit checks, and movement testing before any purchase decision.
| Point | Details |
|---|---|
| Measure late in the day | Feet are at their largest in the afternoon or evening, giving the most accurate size reading. |
| Toe room is non-negotiable | Leave 1–1.5 cm between your longest toe and the shoe’s front to prevent compression. |
| Fit to the larger foot | Most people have one foot slightly bigger; always size to that foot and pad the other if needed. |
| Heel slip has a threshold | Up to 3 mm of slip on a new shoe is normal; more than that causes friction injuries over time. |
| Replace shoes before they fail | Running shoes last 300–500 miles; a degraded midsole alters gait before you notice discomfort. |