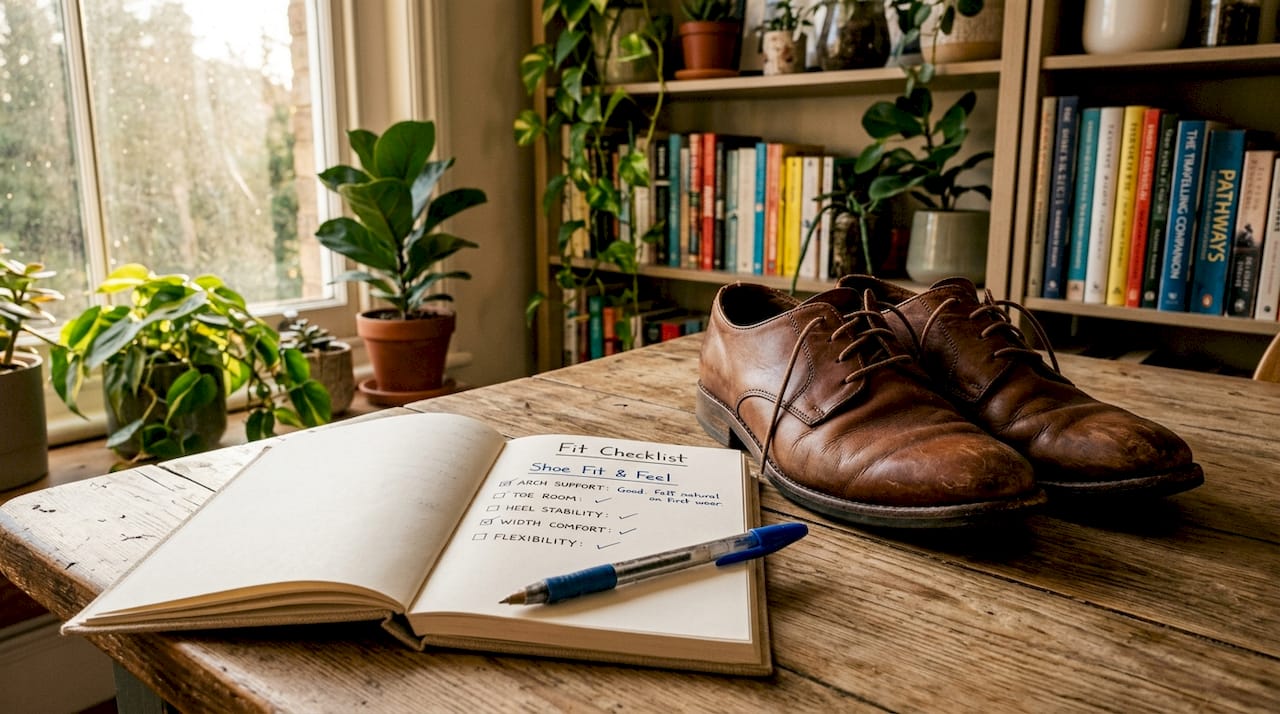
Shoe fit checklist: your complete sizing guide
TL;DR:
- Proper shoe fit requires measuring both feet accurately in the afternoon and trying on shoes with appropriate movement and movement testing. For sensitive or diabetic feet, extra features like seamless interiors and wider toe boxes are essential for protection, not comfort. Always prioritize fit over size labels by assessing toe space, heel snugness, foot volume, and real-world comfort during movement.
A shoe fit checklist is a structured set of criteria used to verify that a shoe fits correctly across length, width, depth, and support before you commit to wearing it. Getting this wrong is not a minor inconvenience. Poorly fitted shoes cause blisters, bunions, plantar fasciitis, and, for those with diabetic or neuropathic feet, serious ulcers. This guide walks you through every step of a proper shoe fit assessment, from measuring your feet at home to evaluating specialised features for sensitive foot conditions, so you can make decisions based on fit rather than size labels.
1. How to accurately measure your feet for shoe fitting
Measurement is the foundation of every shoe size fitting guide, and most people do it wrong. The two most common errors are measuring only one foot and measuring while seated. Both produce inaccurate results.
Follow these steps for a reliable measurement:
- Stand on a hard floor and place a sheet of paper flat beneath your foot.
- Trace around your entire foot with a pencil held vertically, not angled inward.
- Measure the length from the heel mark to the tip of your longest toe.
- Measure the width at the widest point across the ball of your foot.
- Repeat for both feet. Measure both feet standing up and always size to the larger foot, as feet commonly differ by up to a full size. This matters because buying to your smaller foot guarantees discomfort on the other side.
- Use a ruler or tape measure and record both dimensions in millimetres for precision.
Timing matters as much as technique. Feet are more swollen in the afternoon and evening after a day of standing and walking. Measuring in the morning can underestimate your true size by up to half a size, which leads to shoes that feel fine in the shop but pinch by mid-afternoon.
Wear the socks you intend to use with the shoes during measurement. A thick walking sock adds meaningful volume compared to a thin dress sock, and that difference directly affects fit.
Pro Tip: If you are between sizes on a shoe size fitting guide, always go up, not down. You can compensate for slight length with an insole, but you cannot stretch a shoe that is genuinely too short.
2. Key criteria to check when trying on shoes
Measurement gives you a starting point. The try-on is where you confirm or reject a shoe. A comfort shoe checklist during try-on should cover the following:
- Toe space. There should be approximately 12 to 17 mm (roughly a thumb’s width) between your longest toe and the front of the shoe. Less than this causes toe compression; more than this causes the foot to slide forward and the heel to lift.
- Heel fit. The heel should feel snug without gripping. Slide your finger behind your heel while wearing the shoe. One finger fits comfortably in a well-fitted shoe. Two fingers indicate the shoe is too large.
- Width. The widest part of your foot should sit within the widest part of the shoe without bulging over the sole or feeling compressed. Neither extreme is acceptable.
- Arch support. Arch support matching your foot type distributes pressure evenly and reduces strain during prolonged wear. A flat-footed person wearing a shoe with a high arch profile will develop medial pain within hours.
- Interior construction. Run your hand inside the shoe before putting it on. Feel for raised seams, rough stitching, or any ridge that sits where your foot will bear weight. Interior seams or roughness cause friction that leads to blisters, and for those with reduced sensation, this friction can go unnoticed until serious damage has occurred.
- Sole flexibility. The shoe should flex at the ball of the foot, not at the arch. A sole that bends in the middle provides no structural support and accelerates fatigue.
Pro Tip: Always try on both shoes in the shop and walk on a hard surface, not just carpet. Carpet masks slipping and cushioning deficiencies that become obvious on tile or wood flooring.
Try shoes on with the socks you plan to wear and walk a meaningful distance, not just two steps. A proper shoe fitting guide requires movement to reveal fit issues that static assessment misses entirely.
3. Specialised shoe fit considerations for diabetic and sensitive feet
For individuals with diabetes, peripheral neuropathy, or other conditions affecting foot sensation, the shoe fit assessment becomes clinically significant. A poorly fitted shoe that a healthy person notices and removes within an hour can cause an undetected ulcer in a person with neuropathy within the same timeframe.
The table below compares standard shoe fit criteria with the additional requirements for diabetic or therapeutic footwear:
| Fit criterion | Standard footwear | Diabetic or therapeutic footwear |
|---|---|---|
| Interior finish | Minimal seams acceptable | Seamless or near-seamless lining required |
| Shoe depth | Standard depth | At least 3/8 inch extra depth for orthotics and deformities |
| Toe box width | Comfortable, no compression | Wide toe box to allow full toe splay |
| Closure type | Any closure | Adjustable laces or Velcro to accommodate daily swelling |
| Heel counter | Firm preferred | Firm but without pressure points at sensitive areas |
| Sole design | Standard flat or cushioned | Rockered sole to reduce plantar pressure and ulcer risk |
Diabetic shoes require at least 3/8 inch extra depth, seamless interiors, wide toe boxes, and adjustable closures. These are not comfort preferences. They are protective features that reduce the risk of pressure injuries that can escalate to amputation. Therapeutic footwear design targets preventing small irritations that lead to serious diabetic ulcers, so proper fit features are clinically necessary, not optional.
For anyone with diabetic or neuropathic feet, professional fitting by a podiatrist or certified orthotist is not a luxury. It is the safest route to footwear that genuinely protects. You can read more about diabetic footwear selection to understand which features matter most for your specific condition.
4. When and how to test shoe comfort during use
Static try-on reveals the basics. Movement testing reveals everything else. Best shoe fitting practices require you to assess comfort under real conditions before making a final decision.
- Time your visit correctly. Fitting at the end of the day prevents sizing errors caused by morning measurements, when feet have not yet expanded to their full daily volume. Foot swelling throughout the day significantly changes how a shoe feels, and a shoe that fits at 9am may feel tight by 3pm.
- Bring your orthotics. If you use custom or over-the-counter insoles, they must be inside the shoe during testing. Orthotics change the internal volume of the shoe and affect heel height, arch contact, and toe space simultaneously.
- Walk on multiple surfaces. Walking on different surfaces helps assess grip, cushioning, and stability for your intended activities. A shoe that feels cushioned on carpet may feel hard and unstable on pavement.
- Check for hot spots. After walking for five to ten minutes, stop and note any areas of warmth, pressure, or friction. These are early indicators of fit problems that will worsen with extended wear.
- Assess instep volume. Foot volume, including instep height and girth, affects overall shoe fit beyond simple length and width. A shoe that is the correct length and width may still feel tight across the laces if the instep is high. This is a common source of discomfort that standard size charts do not address.
- Test heel slip. Walk up and down stairs or a ramp if possible. Heel slipping during this movement indicates the shoe is too large or the heel counter is too shallow, both of which cause blisters at the back of the heel.
Breaking in a shoe is a legitimate process for leather footwear, but a shoe should never cause pain from the first wear. Discomfort that requires weeks to resolve is a sign of a poor fit, not a shoe that needs time. Recognising this distinction early saves you from long-term foot problems. A practical guide to identifying shoe fit issues can help you distinguish normal adjustment from genuine misfit.
Key takeaways
A reliable shoe fit checklist combines accurate measurement, thorough try-on assessment, and real-world movement testing, with additional clinical criteria applied for diabetic or sensitive feet.
| Point | Details |
|---|---|
| Measure both feet, size to the larger | Feet differ in size; always base your purchase on the larger foot’s measurements. |
| Time your fitting for late in the day | Feet swell throughout the day, so afternoon fitting gives the most accurate result. |
| Check toe space and heel fit | Allow 12 to 17 mm at the toe and one finger’s width at the heel for correct fit. |
| Diabetic feet need clinical features | Seamless interiors, extra depth, and wide toe boxes are protective requirements, not preferences. |
| Foot volume affects fit beyond size | Instep height and girth can cause tightness even when length and width measure correctly. |
Why I stopped trusting size labels years ago
I have spent a long time watching people buy shoes based on the number on the box rather than how the shoe actually fits their foot. The size label is a manufacturer’s approximation. It is not a guarantee of fit, and different brands interpret the same number differently. I have worn a size 43 in one brand and a 44 in another, and both fitted correctly. The number told me nothing useful.
What I have found actually works is treating every shoe purchase as a fresh assessment. You measure, you try, you move, and you decide based on what your foot tells you, not what the label says. This is particularly true for people whose feet have changed shape over time due to age, weight change, pregnancy, or a health condition. Feet are not static. They change, and your approach to fitting needs to reflect that.
The part of shoe fitting that most articles skip is the interior inspection. Running your hand inside a shoe before you put it on takes ten seconds and can prevent weeks of blistering. For anyone with reduced foot sensation, this step is not optional. It is the most protective thing you can do before a shoe touches your foot.
My honest recommendation is to prioritise fit over fashion without apology. A shoe that looks right but fits poorly will cost you more in discomfort, physiotherapy, and replacement footwear than a well-fitted shoe ever would. Consult a podiatrist if you have specific foot concerns. The investment in a professional fitting pays for itself quickly.
— Panagiotis
How Ydauk’s technology addresses shoe fit from the inside out

Ydauk designs footwear around the principles covered in this guide, combining foot health technology with everyday wearability. The YDA shoe technology addresses the fit challenges that standard footwear ignores, including instep volume, arch alignment, and pressure distribution across the sole. If you have been struggling to find shoes that fit well across all dimensions, particularly if you have wider feet, high insteps, or specific foot health concerns, Ydauk’s range is built with those needs at its centre. Explore the technology behind the shoes to understand how each design decision connects to the fit criteria in this guide.
FAQ
How do I know if my shoes fit correctly?
A correctly fitted shoe has approximately 12 to 17 mm of space between your longest toe and the shoe front, a snug heel with no slipping, and no pressure points after walking for several minutes. Run your hand inside the shoe to check for seams or ridges before wearing.
When is the best time to measure my feet?
Measure your feet in the afternoon or evening when they are at their largest due to natural daily swelling. Morning measurements can underestimate your true size and lead to shoes that feel tight by mid-afternoon.
Why do my shoes feel tight even though they are the right length?
Tightness despite correct length is usually caused by foot volume. Instep height and foot girth affect how a shoe fits beyond length and width, so a shoe that measures correctly may still compress a high-volume foot across the laces or instep.
What features should diabetic footwear include?
Diabetic footwear requires seamless or near-seamless interiors, at least 3/8 inch extra depth, wide toe boxes, adjustable closures, and rockered soles. These features reduce pressure and friction that can cause ulcers in feet with reduced sensation. You can find a detailed breakdown in Ydauk’s guide to shoe fit for diabetics.
Should I always buy the same shoe size across brands?
No. Sizing varies between manufacturers, and the same number can represent meaningfully different dimensions depending on the brand and country of origin. Always try shoes on or consult the brand’s specific size chart, and base your decision on how the shoe fits your foot rather than the number on the label.