Step by step shoe fitting: get the right fit
TL;DR:
- Proper shoe fitting involves matching a shoe’s internal dimensions to your foot’s exact size and mechanics. Accurate measurements should be taken in the late afternoon or evening to account for natural swelling, and dynamic tests like walking and heel grip checks are essential for ensuring comfort. Regular re-measurement and attention to width, depth, and orthotic needs help prevent foot discomfort and ensure a supportive fit throughout your life.
Proper shoe fitting is the process of matching a shoe’s length, width, depth, and internal structure to the precise dimensions and mechanics of your foot. Most people guess their size based on a number they’ve known since childhood, yet feet change shape throughout life due to age, weight shifts, and health conditions. A systematic approach to fitting, using tools like the Brannock device, the thumb-width toe test, and the dynamic heel slip check, removes the guesswork entirely. The result is a shoe that supports your foot rather than fighting it.
What tools and preparation do you need to fit shoes properly?
Before you measure a single millimetre, the right preparation separates a reliable fit from a wasted trip. The tools you choose and the time of day you measure both affect the outcome significantly.
Measuring tools you will need:
- A Brannock device (available in most shoe shops) for in-store length and width measurement
- A measuring tape or ruler for home use
- Blank paper and a pen for tracing your foot outline
- A flat, hard surface to stand on during measurement
Timing matters more than most people realise. Feet can swell 5–8% during the course of a day, which means a morning measurement will consistently underestimate the space you need. Measure your feet in the afternoon or evening to account for this natural expansion. Shoes bought to a morning measurement often feel tight by 3pm.
Wear the socks you intend to use with the shoe. A thin trainer sock and a thick walking sock change the internal volume of a shoe by a noticeable margin. If you use custom orthotics or insoles, bring them to every fitting session. The orthotic volume changes arch and heel contact, meaning the shoe that fits without them may not fit with them installed.
Pro Tip: If you wear orthotics regularly, remove the stock insole from any shoe you are trying and replace it with your orthotic before assessing the fit. This is the only accurate way to judge whether the shoe works for you.
How do you measure your feet accurately at home or in-store?
Accurate measurement is the foundation of the entire shoe fitting guide. Follow these steps precisely, and you will have reliable numbers to work from regardless of brand or style.
- Place a sheet of blank paper on a hard floor. Stand fully upright on it with your full body weight distributed evenly. Sitting down reduces foot length by compressing the arch.
- Trace around your foot with a pen held vertically, not at an angle. An angled pen adds false width to the outline.
- Measure the length from the heel to the tip of your longest toe. This is not always the big toe. For many people, the second toe extends further.
- Measure the width at the widest part of the foot, which sits across the metatarsal heads, roughly at the ball of the foot.
- Repeat for both feet. Always fit to the larger foot. Fitting to the smaller foot leaves the larger one compressed.
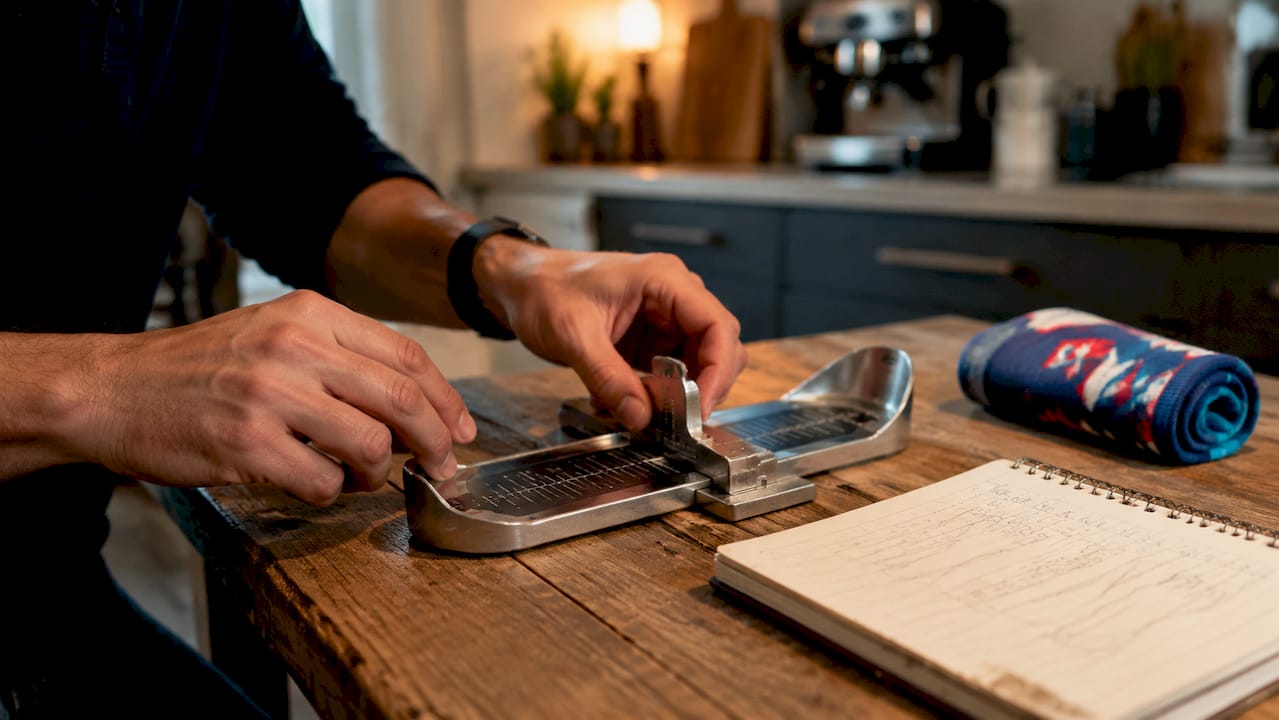
- In-store, use a Brannock device by placing your heel in the heel cup and reading both the length and width indicators simultaneously.
| Measurement | What to record | Why it matters |
|---|---|---|
| Length (heel to longest toe) | In centimetres | Determines base shoe size |
| Width (across metatarsal heads) | In centimetres | Determines width fitting (B, D, E, EE) |
| Arch length | Heel to ball of foot | Ensures ball sits at shoe’s flex point |
| Difference between feet | Larger minus smaller | Guides which foot to fit to |
Pro Tip: Use your foot trace to check shoe shape as well as size. Place the outline inside the shoe’s insole. If the outline is wider than the insole at any point, the shoe is too narrow regardless of what the size label says.
What steps ensure the perfect shoe fit when trying shoes on?
Static measurement tells you where to start. Dynamic testing tells you whether a shoe actually works. This is the part of the correct shoe fitting method that most people skip entirely, and it is where most fitting errors occur.
- Slide your foot forward until your toes touch the front of the shoe. Then check the gap at the heel. You should be able to slide one index finger behind your heel with a small amount of resistance. This walk test confirms correct shoe length and heel grip simultaneously.
- Check toe room. With your foot in its natural position, a thumb’s width of space between your longest toe and the shoe’s end is the target. Less than this jams toes on impact. More than this causes foot sliding and blisters.
- Wiggle your toes. All toes should move freely without pressing against the upper. If the little toe presses against the side seam, the shoe is too narrow.
- Check width at the ball of the foot. The widest part of your foot should align with the widest part of the shoe. If the upper bulges outward or pulls inward, the width is wrong.
- Walk across different surfaces if possible. A short walk on carpet and a hard floor reveals pressure points and pinching that standing still conceals.
- Test flexibility. Bend the shoe at the ball, not at the midfoot. A shoe that bends in the middle rather than at the flex point will fight your natural gait. Then hold the heel and twist the forefoot gently. Excessive twist indicates poor construction and causes instability and foot fatigue.
- Lace the shoe properly and check instep pressure. Overly tight lacing restricts blood flow and causes numbness. The laces should feel snug but not compressive.
Comparison: static vs dynamic fit testing
| Test type | What it checks | Limitation |
|---|---|---|
| Static (standing) | Length, width, toe room | Misses movement-related pressure |
| Dynamic (walking) | Heel grip, flex point, pressure spots | Requires space and time in-store |
Pro Tip: Always try shoes on at the end of a shopping trip, not the beginning. Your feet will be at their largest after walking, giving you the most accurate dynamic fit result.
How to adjust shoe fit issues and choose shoes for special foot conditions?
A shoe fitting guide for general feet is a starting point. For wide feet, bunions, hammertoes, or orthotic users, the process requires additional steps.
The most common mistake people make is sizing up in length to solve a width problem. Longer shoes cause foot sliding and toe jamming at the front, creating new problems while failing to solve the original one. Width and depth are separate dimensions from length, and they need to be addressed directly.
For wide feet and bunions:
- Look for shoes with a wide or extra-wide last (marked E, EE, or 2E in UK sizing)
- Prioritise a soft, flexible upper that does not press against bony prominences
- Choose shoes with extra depth to accommodate toe deformities without compression
- Avoid pointed toe boxes entirely. A rounded or square toe box distributes pressure evenly
“The right combination of width, depth, and orthotics improves daily comfort dramatically for people with foot deformities.” — Michigan Foot Doctors
For orthotic users, the fitting protocol changes entirely. Remove the stock insole from the shoe before assessing fit. Install your orthotic and then perform all the standard fit checks. You may need approximately a half-size up in shoe size to accommodate the orthotic volume correctly. For more detail on this process, the orthopedic shoe buying guide at Ydauk covers the key considerations clearly.
Pro Tip: Heat-mouldable shoes and shoe stretching are legitimate tools for minor width adjustments, but they work best on leather uppers. Synthetic materials respond poorly to stretching and may distort the structure rather than expand it.
What common mistakes should you avoid when fitting shoes?
Even people who follow a stepwise shoe fitting process make predictable errors. Recognising them in advance saves time and protects your feet.
Mistakes to avoid:
- Relying on size numbers alone. Sizes vary significantly between brands and countries. A UK 8 in one brand may fit like a UK 7.5 in another. Always measure and test physically.
- Measuring only in the morning. Morning measurements underestimate foot volume. Afternoon or evening measurement is the standard for accurate results.
- Buying shoes without wearing your usual socks. The difference between a thin and a thick sock changes the effective internal volume of a shoe by up to a full size.
- Ignoring one foot. Most people have one foot slightly larger than the other. Fitting to the smaller foot leaves the larger one compressed throughout the day.
- Assuming fit is permanent. Feet change with age, pregnancy, weight change, and health conditions. Re-measure every one to two years, or whenever a shoe that previously fitted well begins to feel uncomfortable.
Maintaining fit after purchase matters as much as the initial selection. Break in new shoes gradually, wearing them for short periods before committing to a full day. If you use orthotics, follow the orthotic care guidance to preserve both the device and the shoe’s internal structure.
Pro Tip: Keep your foot trace on paper and date it. Comparing traces taken a year apart shows you exactly how your foot shape has changed, which is far more reliable than memory.
Key takeaways
Correct shoe fitting requires measuring both feet at the end of the day, testing fit dynamically with a walk test and heel gap check, and addressing width and depth separately from length.
| Point | Details |
|---|---|
| Measure in the afternoon | Feet swell up to 8% during the day, so evening measurement gives the most accurate size. |
| Fit to the larger foot | Always use the bigger foot as your reference to avoid compression on one side. |
| Test dynamically, not just statically | Walk in the shoe and check heel grip and toe room under real movement conditions. |
| Address width separately from length | Sizing up in length to fix width problems causes sliding and new pressure points. |
| Re-measure regularly | Foot shape changes with age and health; check your measurements every one to two years. |
Why I stopped trusting shoe sizes and started trusting the process
I have watched people walk out of shoe shops in the wrong shoes more times than I can count, not because they were careless, but because they trusted a number on a label over what their feet were telling them. The size system was never designed to account for width, arch length, or the way feet change over decades. It is a rough guide at best.
What changed my thinking was seeing how consistently the dynamic tests work when people actually use them. The heel finger test, the toe wiggle check, the bend and twist assessment: these are not complicated procedures. They take three minutes. Yet most people skip them entirely because they feel confident once the length seems right. Length is only one dimension of three.
The other thing worth saying plainly is that foot fitting is not a one-time event. I have seen people in their sixties wearing the same size they wore at thirty, despite their feet having spread and flattened considerably. The discomfort they attributed to “just getting older” was largely a fitting problem. A correct shoe fitting method, applied consistently and updated as your feet change, resolves a surprising amount of chronic foot discomfort without any medical intervention.
If you take one thing from this, make it this: measure both feet, test the fit while walking, and do not compromise on width.
— Panagiotis
How Ydauk’s shoe technology supports a precise fit
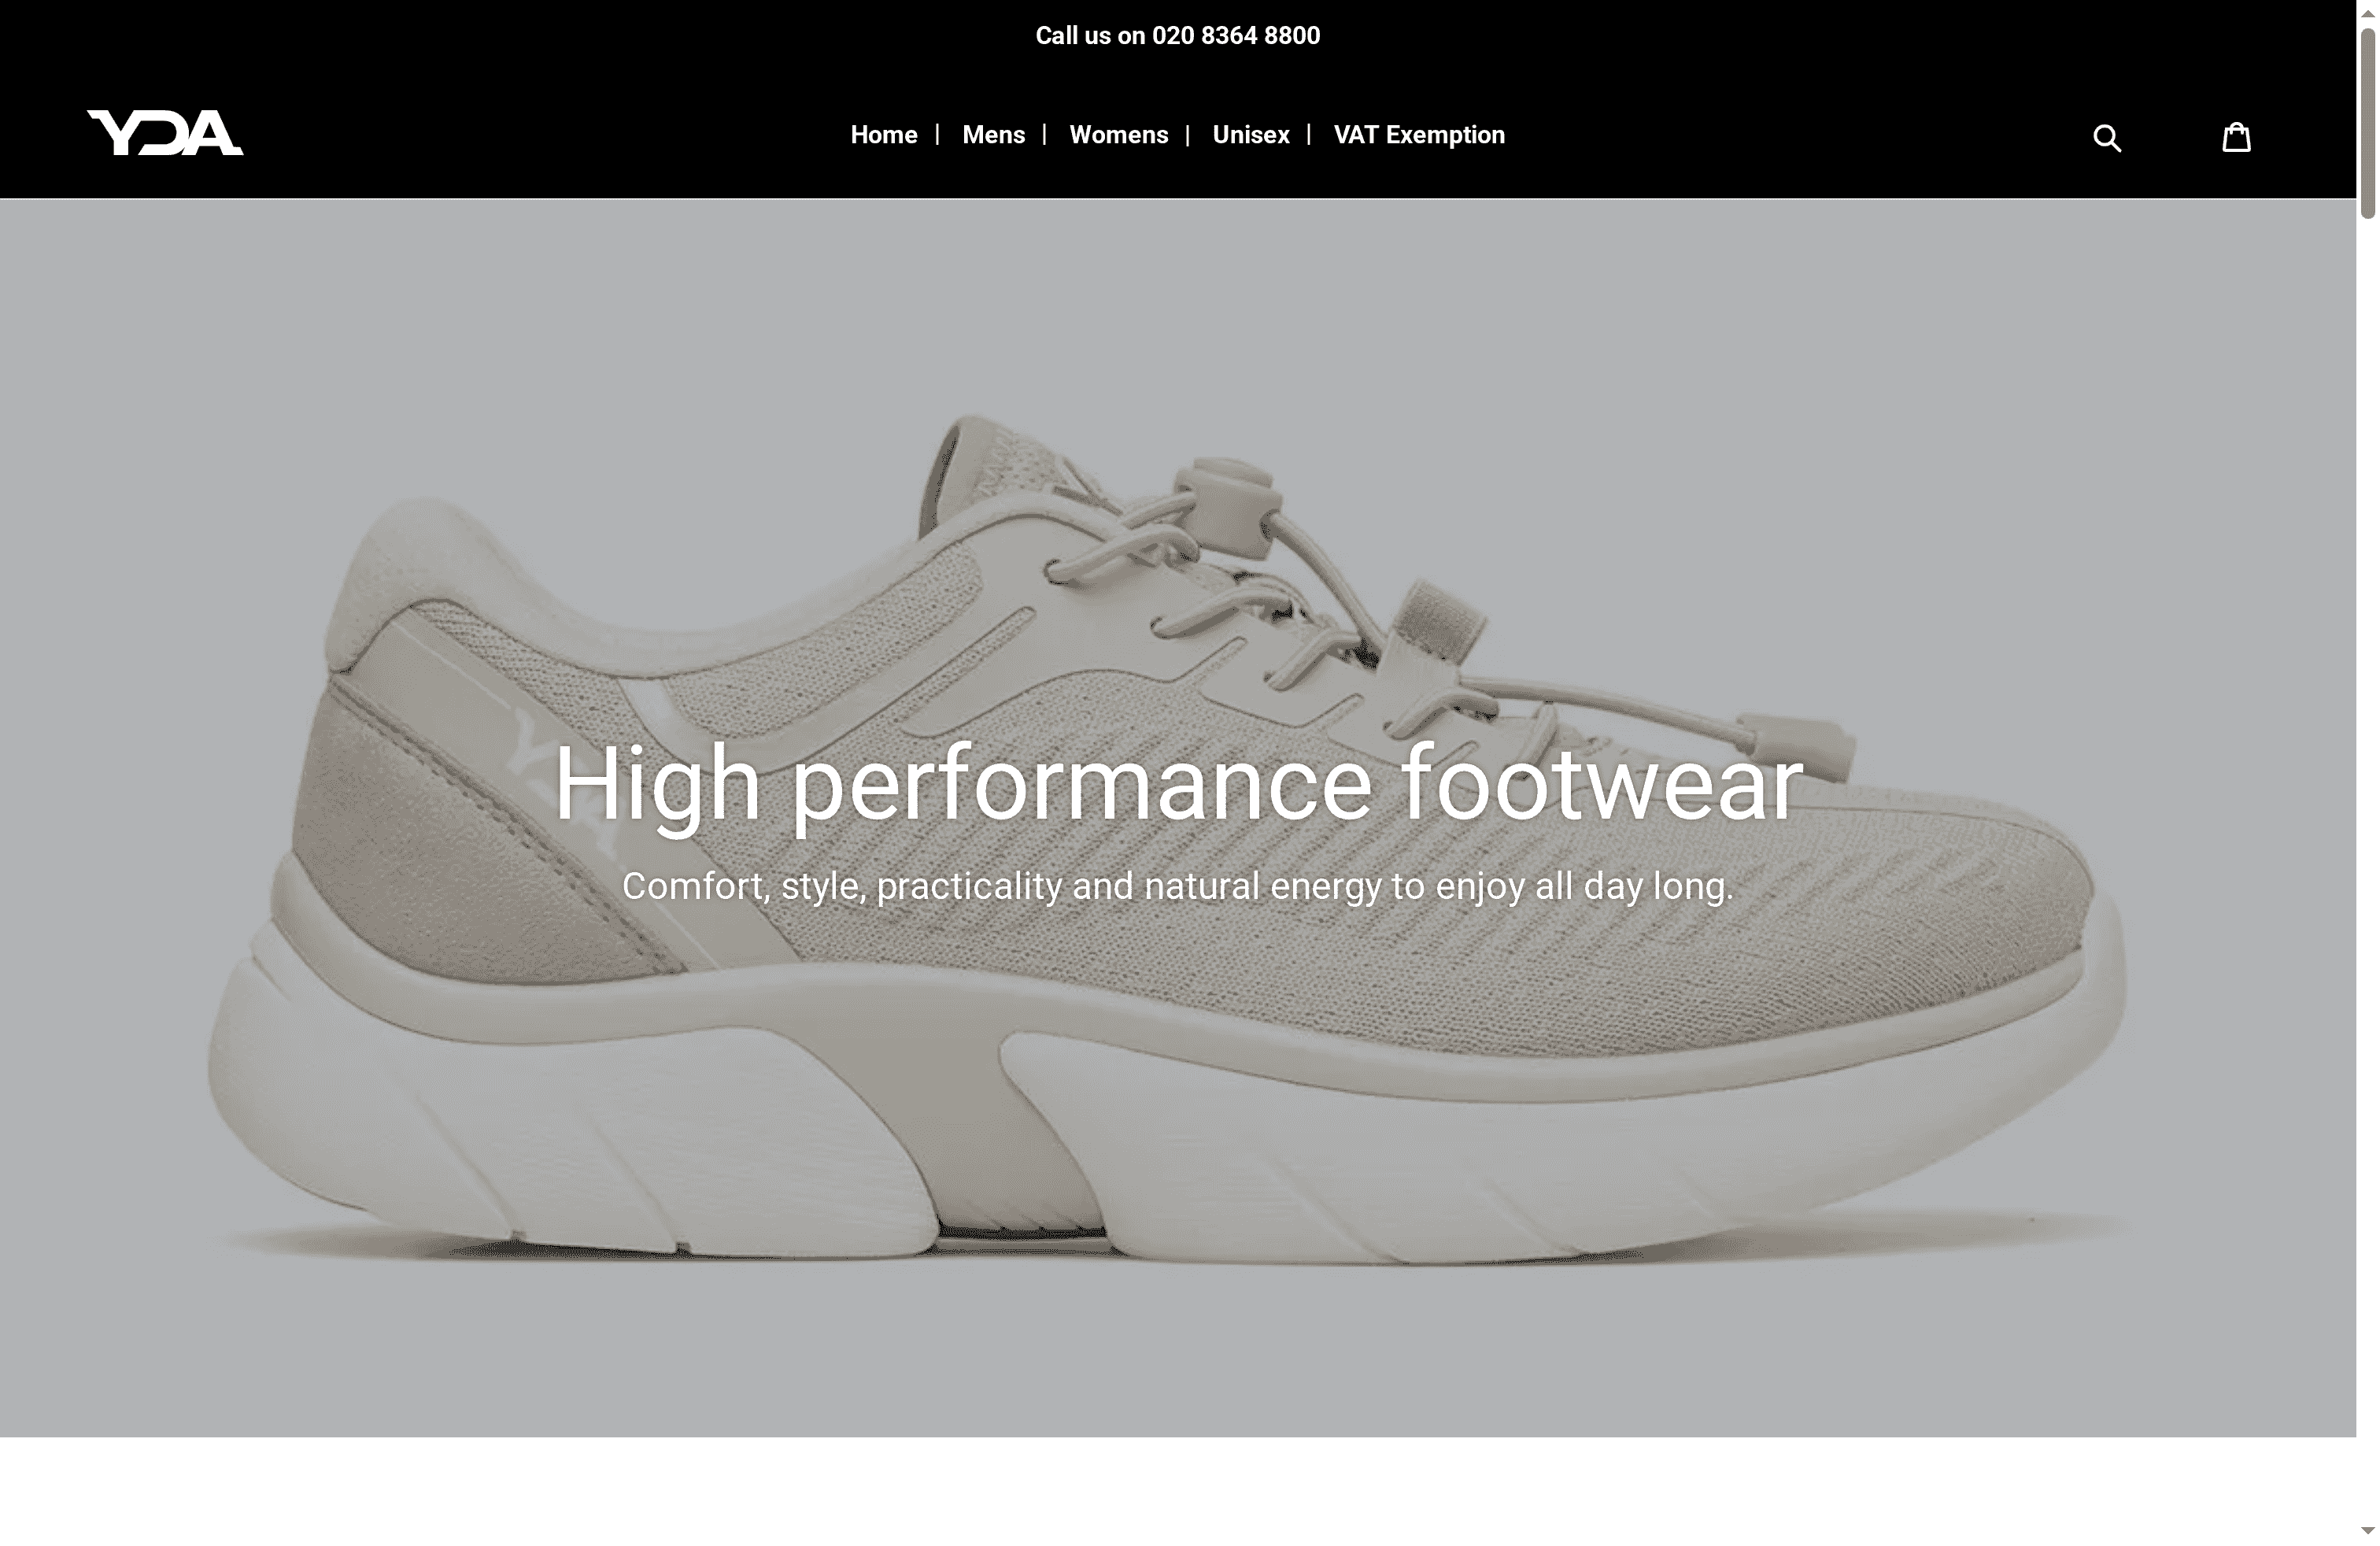
Ydauk designs its footwear around the principles that make a correct fit possible from the first wear. The YDA Technology platform prioritises last shapes that accommodate natural foot width, with internal structures that support the arch without compressing the forefoot. If you have followed the steps in this guide and know your measurements, Ydauk’s product range gives you a clear starting point for finding shoes that match those numbers. Visit the YDA shoe technology page to understand how each design feature connects to foot health and comfort, and to find the right model for your foot type. For additional comfort testing guidance before you buy, the shoe comfort testing guide at Ydauk walks you through the in-store checks that confirm a good fit.
FAQ
How much toe space should a well-fitted shoe have?
A correctly fitted shoe leaves approximately 1 to 1.5 cm, roughly a thumb’s width, between your longest toe and the end of the shoe. This space prevents toe compression during walking while avoiding excess room that causes blisters.
When is the best time of day to measure your feet?
Measure your feet in the afternoon or evening. Feet swell by up to 8% during the day, so morning measurements consistently underestimate the space you need in a shoe.
Should I size up if my shoes feel too narrow?
No. Sizing up in length to solve a width problem causes foot sliding and toe jamming. The correct approach is to find a shoe in the right width fitting, marked E, EE, or 2E for wider feet in UK sizing.
Do I need to refit shoes if I use orthotics?
Yes. Remove the stock insole from the shoe and install your orthotic before assessing fit. Orthotic volume changes arch and heel contact, and you may need approximately a half-size larger shoe than your standard measurement suggests.
How often should I re-measure my feet?
Re-measure every one to two years, or whenever a shoe that previously fitted comfortably begins to feel tight or loose. Feet change shape with age, weight change, and health conditions, making regular measurement a reliable habit for long-term foot comfort.