How to Maintain Shoe Comfort for Lasting Foot Support
Finding shoes that deliver both style and lasting support can feel like a challenge, especially for those with persistent foot discomfort or health concerns. Damp, unclean shoes create the perfect environment for unwanted bacteria and fungi, threatening your comfort and wellbeing. With a focus on good foot hygiene and smart shoe maintenance, you can keep your footwear fresh, supportive, and ready for every step. Discover easy strategies to transform the way your shoes fit, feel, and perform throughout the day.
Table of Contents
- Step 1: Prepare Clean And Dry Shoes
- Step 2: Inspect Insoles And Adjust Cushioning
- Step 3: Refresh Fit With Proper Lacing Techniques
- Step 4: Test Comfort During Regular Wear
Quick Summary
| Key Insight | Explanation |
|---|---|
| 1. Thoroughly clean and dry shoes | Remove dirt and moisture to prevent bacteria growth and ensure comfort and foot health for longer wear. |
| 2. Regularly inspect and replace insoles | Check for wear and tear; replace or adjust insoles for optimal support and cushioning to prevent foot pain. |
| 3. Use effective lacing techniques | Adjust lacing to achieve proper fit and support, alleviating pressure points and enhancing overall shoe comfort. |
| 4. Test comfort during real-world wear | Evaluate shoe comfort throughout the day to identify specific fit issues and make necessary adjustments. |
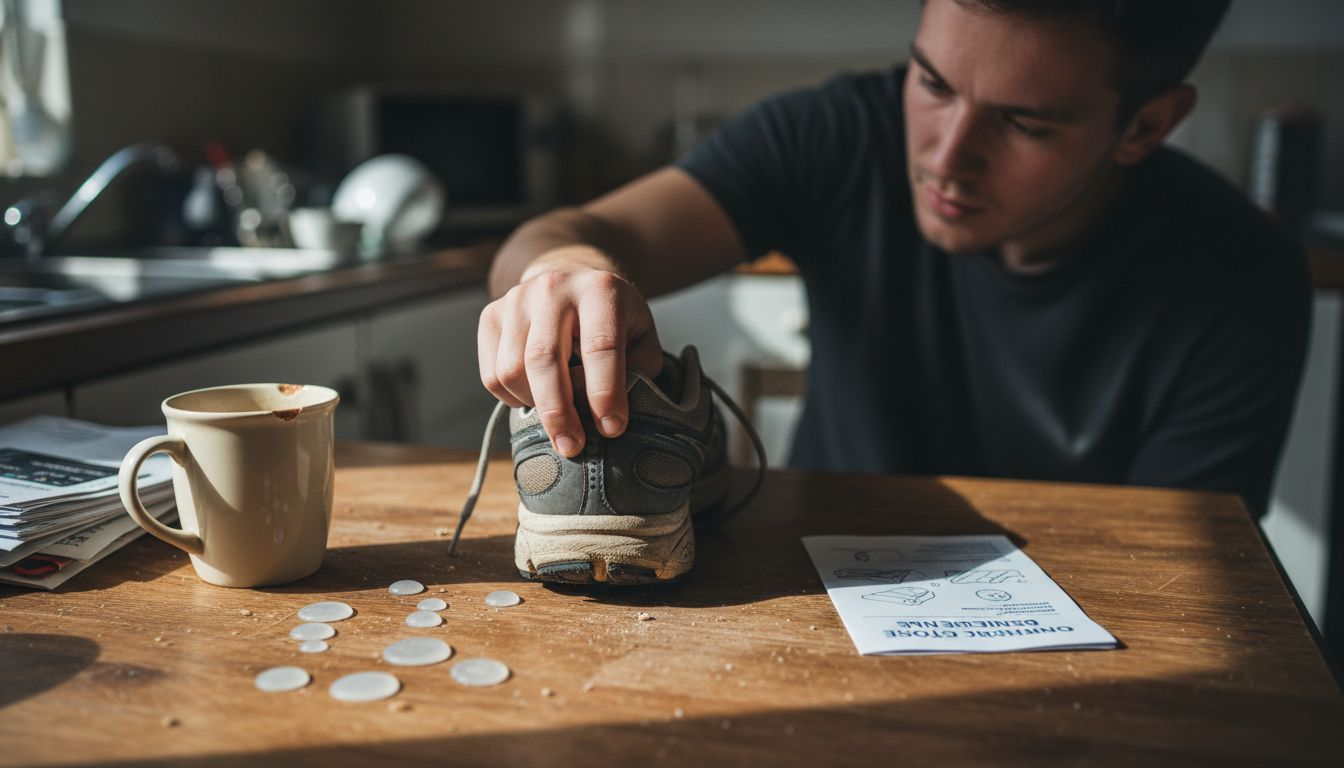
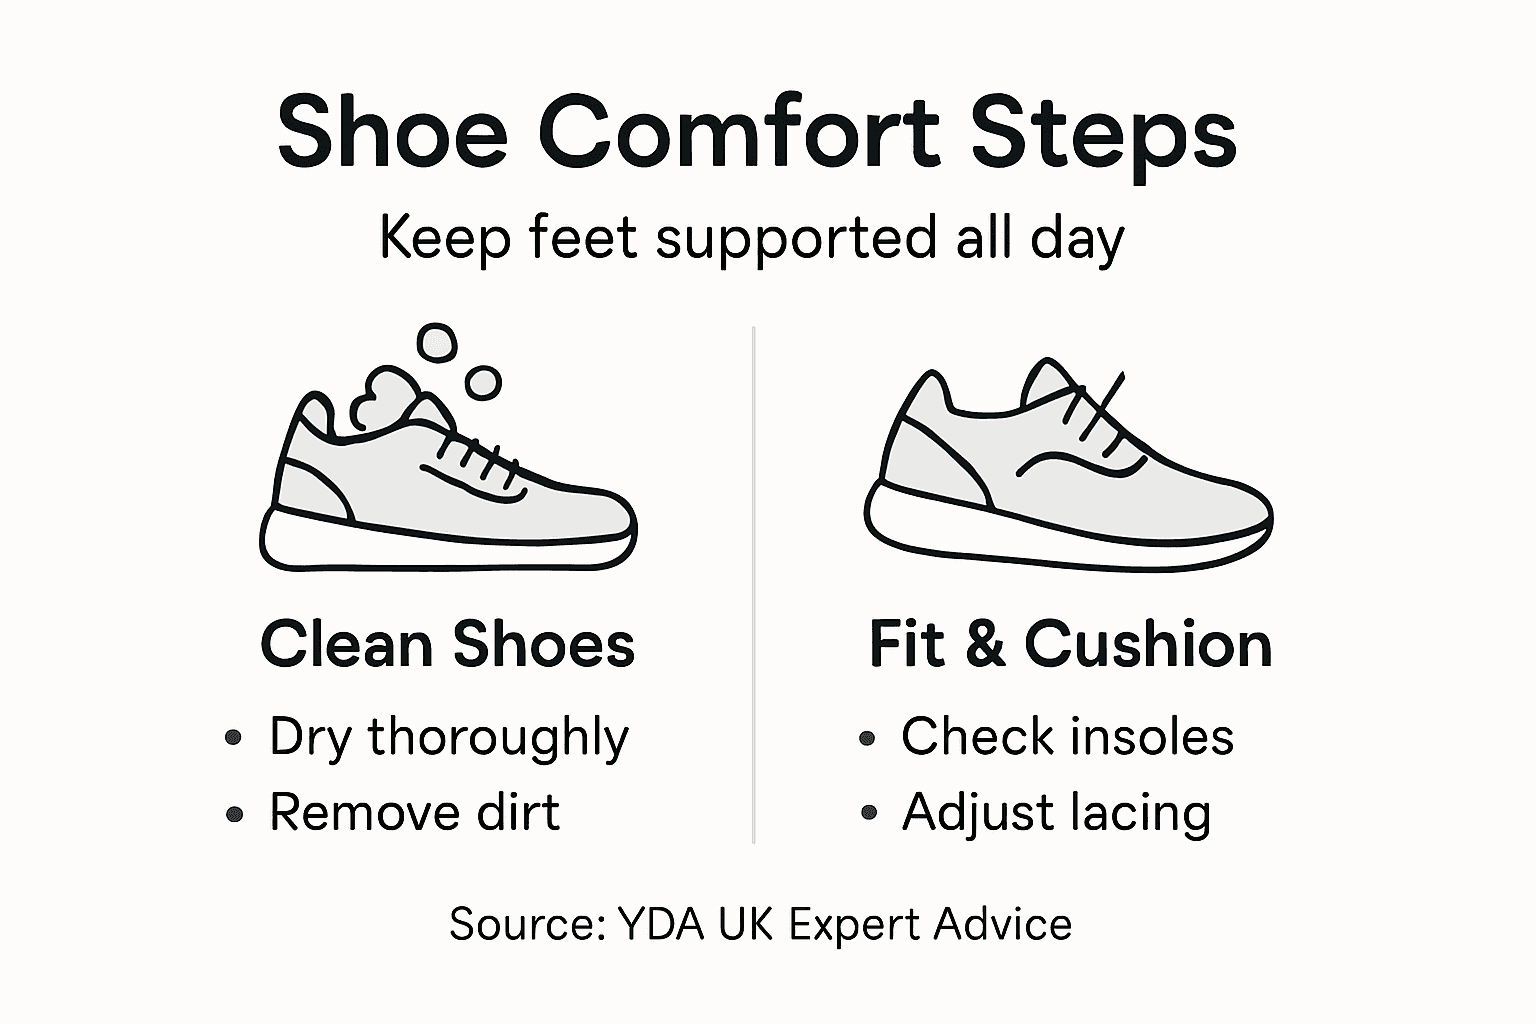
Step 1: Prepare clean and dry shoes
Clean, dry shoes form the foundation of lasting comfort and foot health. Dirt, moisture, and bacteria accumulate during daily wear, compromising both shoe integrity and your feet’s wellbeing. This step ensures your footwear stays fresh, supportive, and ready for consistent wear.
Start by removing surface dirt from your shoes using a soft brush or damp cloth. Pay attention to seams, crevices, and the sole where debris collects most easily. Wipe away mud and dust thoroughly before moisture sets in permanently.
Next, address moisture inside your shoes:
- Remove insoles and air them separately in sunlight when possible
- Stuff shoes with unscented newspaper or cloth to absorb interior moisture
- Place shoes in a well-ventilated area away from direct heat sources
- Replace newspaper every few hours if shoes are very wet
- Allow at least 24 hours for complete drying
Shoes carry millions of bacteria and germs that thrive in warm, moist environments. Damp shoes create the perfect breeding ground for fungal infections and odour. Ensuring shoes dry completely prevents these problems and keeps them comfortable for all-day support.
Don’t rush this process by using direct heat like hairdryers or radiators. High temperatures damage shoe materials and can warp the structure permanently. Instead, open windows, use fans, or leave shoes outside on a dry day for natural air circulation.
Once dry, inspect the interior for any remaining moisture or odour. Good foot hygiene involves keeping shoes clean and dry to maintain overall foot health and prevent discomfort. Your shoes are now prepped and ready for the next maintenance steps.
Here is a summary comparing shoe drying methods and their effects:
| Drying Method | Material Impact | Odour Reduction | Time Required |
|---|---|---|---|
| Natural air drying | Preserves shape | Good | 24+ hours |
| Direct heat (radiator) | Can warp materials | Moderate | 3-6 hours |
| Sunlight (mild) | Gentle if limited | Excellent | 12-24 hours |
| Fans/ventilation | Maintains structure | Good | 12-24 hours |
Completely dry shoes prevent fungal growth and extend your footwear’s lifespan significantly.
Pro tip: Store silica gel packets or activated charcoal inside dried shoes between wears to absorb moisture and odour, keeping them fresher between cleaning sessions.
Step 2: Inspect insoles and adjust cushioning
Your insoles are the unsung heroes of foot comfort. They work directly beneath your feet, absorbing impact and distributing pressure across your sole. Over time, they compress and wear down, losing the support that keeps your feet comfortable throughout the day.
Begin by removing your insoles and placing them on a flat surface. Look for visible signs of wear such as flattened padding, tears, or dark stains indicating moisture damage. Press firmly on different areas—the heel, arch, and ball of the foot—to assess cushioning density and identify worn spots.
Check for these specific wear patterns:
- Heel cushioning feels thin or hollow when pressed
- Arch support has compressed and no longer contours properly
- Ball of foot padding shows creasing or indentation marks
- Moisture or odour indicates material breakdown
- Overall thickness has reduced noticeably
Cushioning pads in insoles significantly reduce plantar pressure during everyday activities like walking. When cushioning diminishes, your feet absorb more impact, leading to fatigue and discomfort. Addressing this early prevents foot pain from developing.
If cushioning still feels adequate in certain areas but worn in others, you can add targeted padding. Self-adhesive gel pads or foam inserts can restore cushioning where needed most. Place them in problem areas like the heel or ball of the foot, pressing firmly to secure them.
Personalised shoe insoles optimise cushioning and foot support based on individual foot dynamics. However, if insoles are severely compressed or damaged throughout, replacement is more effective than adjustment. New insoles restore full support and prevent recurring discomfort.
Reinsert adjusted or new insoles into your shoes. Walk around briefly to feel the difference and ensure the insoles sit properly without shifting. Your feet should feel more supported and cushioned immediately.
Regular inspection and adjustment of insoles maintain consistent foot support and comfort during extended wear.
Pro tip: Rotate between two pairs of shoes on alternating days, allowing insoles time to decompress and regain their original cushioning properties between wears.
Step 3: Refresh fit with proper lacing techniques
Lacing might seem straightforward, but the way you tie your shoes dramatically affects comfort and support. A poorly laced shoe allows your foot to shift inside, creating pressure points and reducing stability. Adjusting your lacing technique takes seconds but transforms how your shoes feel throughout the day.
Start by loosening all laces completely, then pull them evenly so tension distributes across your entire foot. Your foot should feel cradled rather than pinched. The goal is snug support without restricting blood flow or creating uncomfortable pressure zones.
Try these proven lacing techniques for different needs:
- Straight bar lacing spreads pressure evenly across the foot and suits most shoe types
- Gap lacing creates space across the middle foot, ideal if your instep feels too tight
- Heel lock lacing secures your heel and prevents slippage, perfect for active wear
- Loop lacing provides flexibility at the arch whilst maintaining ankle stability
Proper lacing techniques improve shoe fit and enhance foot comfort by reducing pressure points and stabilising your foot. If you experience heel slippage or pressure on the top of your foot, experiment with different patterns to find relief.
For the heel lock technique specifically, create a small loop at the ankle eyelets rather than crossing straight across. This extra tension at the heel prevents your foot sliding forwards when walking. Using heel lock lacing improves shoe fit by securing the foot and relieving pressure on problem areas.
Once you find your ideal lacing pattern, tie a firm knot and test your fit. Walk around for a minute and assess whether pressure points disappear. Adjust tension in specific areas if needed before finalising your knot.
This table provides a quick reference on lacing techniques and their key benefits:
| Lacing Technique | Ideal Use Case | Main Benefit |
|---|---|---|
| Straight bar | Everyday comfort | Even pressure distribution |
| Gap lacing | High instep or swelling | Reduces midfoot tightness |
| Heel lock | Preventing heel slippage | Improved heel stability |
| Loop lacing | Sensitive arches or instability | Flexible fit with arch support |
The right lacing pattern can eliminate discomfort without replacing your shoes or insoles.
Pro tip: Mark your preferred lacing pattern with a pen on the shoe tongue as a reference, so you can quickly replicate the same tension and technique every time you lace up.
Step 4: Test comfort during regular wear
You’ve prepared, inspected, and adjusted your shoes. Now comes the real test: wearing them through your actual day. Real-world testing reveals whether your shoes truly support your feet or if adjustments are still needed.
Wear your shoes for a full day doing your normal activities. This might mean walking to work, standing for extended periods, or running errands around town. Pay close attention to how your feet feel as hours pass rather than judging comfort in the first few minutes.
Monitor these comfort indicators throughout the day:
- Pressure points or friction that develops after 2-3 hours of wear
- Heel slippage when walking or climbing stairs
- Toe room as your feet swell naturally during the day
- Overall fatigue or aching in your arches or heels
- Blisters or redness forming on your skin
- Whether your feet feel supported or fatigued by midday
Testing shoe comfort during regular wear involves checking for proper fit and absence of pain throughout daily activities. Discomfort that appears after several hours indicates an issue with cushioning, support, or fit rather than initial adjustment.
Take notes on specific problem areas. If you experience blisters on your heel, your heel lock lacing may need tightening. If your arch feels tired, you might need additional cushioning inserts. These observations guide your next adjustments.
Shoes that cause blisters, pain, or sliding are not ideal for lasting wear. Feet naturally swell throughout the day, so shoes fitting perfectly in the morning might feel tight by evening. Conversely, shoes loose at first can become comfortable as your feet adjust and swell.
After a full day, assess overall comfort honestly. If minor adjustments would help, apply them before your next wear. If significant discomfort persists despite modifications, reconsider whether these shoes match your foot’s needs.
Comfort after eight hours of wear reveals far more than comfort during the first five minutes.
Pro tip: Keep a simple comfort log for your first week wearing adjusted shoes, noting pressure points, fit issues, and how discomfort changes—this data helps you identify patterns and refine your maintenance approach.
Enhance Your Shoe Comfort with Expert Solutions from YDA UK
Maintaining lasting foot support can be challenging when shoes lose cushioning or proper fit over time. This article highlights crucial steps like drying shoes correctly, inspecting insoles, and refining lacing methods to prevent discomfort and foot fatigue. If you find yourself battling worn insoles or poor shoe fit despite your best efforts, the right footwear designed with advanced foot health technology makes all the difference.
Discover a collection of high-performance shoes at Shoes – YDA UK that combine style, comfort, and innovative cushioning designed to support your feet throughout the day.

Don’t settle for shoes that leave you tired or sore by afternoon. Visit YDA UK today to explore footwear crafted to maintain optimal comfort and foot support. Take control of your foot health by choosing shoes that work as hard as you do. Upgrade now and feel the difference every step of the way.
Frequently Asked Questions
How can I ensure my shoes are clean and dry for optimal comfort?
To keep your shoes in good condition, clean them regularly and allow them to dry thoroughly. Remove any dirt with a soft brush or damp cloth, and air out the insoles to eliminate moisture by placing them in sunlight when possible.
What should I look for when inspecting my insoles for wear?
Inspect your insoles for visible signs of damage such as flattening, tears, or stains. Feel the cushioning by pressing on different areas; if they feel compressed or uncomfortable, consider adding targeted padding or replacing them altogether.
How can I adjust my lacing technique to improve shoe comfort?
Use different lacing techniques to address specific comfort issues; for example, try heel lock lacing to prevent heel slippage or gap lacing if your instep feels tight. Experiment with patterns until you find one that provides a snug fit without restricting blood flow.
What comfort indicators should I monitor while wearing my shoes?
Pay attention to pressure points, heel slippage, and overall fatigue as you wear your shoes throughout the day. If discomfort arises after a few hours, it may indicate that adjustments are still needed for cushioning or fit.
How long should I wear my shoes during testing to assess their comfort?
Wear your shoes for a full day to accurately evaluate their comfort during regular activities. This will help you identify any pressure points or fit issues that may not be evident in the first few minutes of use.
What steps can I take if I experience discomfort after adjusting my shoes?
If discomfort persists despite making adjustments, reassess your footwear’s fit and support. Consider keeping a comfort log to track pressure points and issues you encounter, allowing you to refine your adjustments effectively.