
Proper shoe lacing guide: techniques for better fit
For most people, the single most useful change is the heel lock (runner’s loop) for heel slip, and window lacing for pressure or pain across the top of the foot. If you only try two techniques from this entire guide, make it those.
Here is the quick verdict by problem:
- Heel slip: Use the heel lock (runner’s loop). Thread the lace through the top eyelet to create a small loop on each side, then cross the laces through the opposite loop before tying. Reliable for running and everyday wear.
- Top-of-foot pressure / high instep: Use window lacing, or try the skip-sixth variant of the heel lock. Both reduce peak pressure over the instep without sacrificing heel hold.
- Toe-box pressure / black toenails: Skip the bottom eyelet or lace the first two pairs loosely, then apply normal tension from the third pair upward.
- Midfoot numbness: Create a lacing “window” directly over the numb spot by skipping one eyelet pair and crossing underneath instead.
- Wide foot: Ladder lacing distributes tension evenly across the full width rather than pulling the sides inward.
The heel lock technique is backed by runner-focused guidance as the most reliable fix for heel instability, while Ian Fieggen’s lacing catalogue documents how each pattern changes lace consumption, pressure zones, and eyelet compatibility.
Key takeaways
The heel lock and window lacing solve the majority of common fit problems; pair either with a reef knot and a double bow to keep the fix in place through any activity.
| Point | Details |
|---|---|
| Heel slip: use heel lock | Thread laces through the top eyelet to form loops, cross through, and pull firm before tying. |
| Pressure relief: use window lacing | Skip one eyelet pair over the hotspot and run laces straight up on each side to bypass it. |
| Knot security matters | A reef (square) knot plus a double bow or surgeon’s wrap prevents undone bows under load. |
| Match lace length to pattern | Ladder and heel lock patterns need roughly 10 cm more lace than standard criss-cross. |
| Test before and after | Score heel slip, pressure, and stability on a 0–3 scale before and after each change. |
Table of Contents
- How does lacing actually change the way your shoe fits?
- Step-by-step core lacing methods and when to use each
- How to tie knots that actually stay tied
- Which lacing fix matches your problem?
- Choosing the right lace length and material
- A repeatable protocol to test whether your lacing change worked
- What I have learnt from testing lacing changes methodically
- Sources
How does lacing actually change the way your shoe fits?
The path a lace takes through eyelets determines where tension concentrates. A standard criss-cross pulls the two sides of the shoe toward each other evenly. Change the routing, and you shift that tension up, down, or around a specific area of the foot.
Three mechanisms drive most of the useful changes:
- Heel cinch: Routing laces through the top eyelet to form a loop locks the heel counter against the back of your foot, reducing the up-and-down movement that causes blisters and black toenails.
- Pressure redistribution: Skipping an eyelet or creating a horizontal bridge over a hotspot reduces peak pressure at that point. The lace still holds the shoe closed; it just avoids bearing down on the sensitive area.
- Lace consumption: Some patterns use significantly more lace than criss-cross. Ladder lacing, for example, uses noticeably more length. If you are switching patterns, check your lace length first.
A quick safety note: laces should feel snug, not tight. If you notice tingling, numbness, or discolouration in your toes after tightening, loosen immediately. Circulation restriction is a real risk with aggressive tension, particularly in narrow shoes. The Ydauk guide on why tight shoes harm foot health covers this in more detail.
Pro Tip: Before changing your lacing pattern, trace your current lace path on a piece of paper. It takes 30 seconds and means you can always return to your starting point if the new pattern feels worse.
Step-by-step core lacing methods and when to use each
These are the patterns worth learning. Each one solves a specific problem, and most take under three minutes to apply. REI’s runner-focused lacing advice identifies the runner’s loop and window lacing as the two techniques every active wearer should know.
Criss-cross (the everyday default)
The standard pattern most shoes come laced with. Laces cross diagonally at every eyelet pair, creating even tension across the full length of the shoe.
- Thread the lace straight across the bottom two eyelets (inside out, so the knot sits flat).
- Cross the laces diagonally and thread up through the next pair of eyelets.
- Repeat, crossing at every pair, until you reach the top.
- Tie at the top.
When to use: General everyday wear, no specific fit complaint. Lace consumption: neutral.
**
Heel lock / runner’s loop
The single most useful technique for heel slip. It uses the top eyelet (the extra one many shoes have) to create a small loop that locks the heel counter in place.
- Lace criss-cross up to the second-to-last eyelet pair.
- Instead of crossing, thread each lace end straight up into the last eyelet on the same side, creating a small loop.
- Cross each lace end through the loop on the opposite side.
- Pull firmly to cinch the loops down, then tie as normal.
When to use: Heel slip, blisters at the back of the heel, or any activity involving downhill running. Lace consumption: uses slightly more lace.
Skip-sixth variant: If you have a high instep or dorsal pressure, skip the sixth eyelet entirely when lacing criss-cross, then apply the heel lock at the top. RunnersConnect notes that this variant reduces top-of-foot pressure while maintaining heel stability.
**
Window lacing (pressure relief)
Creates a gap in the lacing directly over a pressure hotspot, such as a high instep or a bony prominence.
- Lace criss-cross up to the eyelet pair just below the problem area.
- Instead of crossing, run each lace straight up on its own side to the eyelet pair just above the hotspot.
- Resume criss-cross from that point upward.
- Tie at the top.
When to use: Top-of-foot pain, high instep, bone spurs, or any localised pressure point. Lace consumption: neutral to slightly less.
**
Ladder lacing
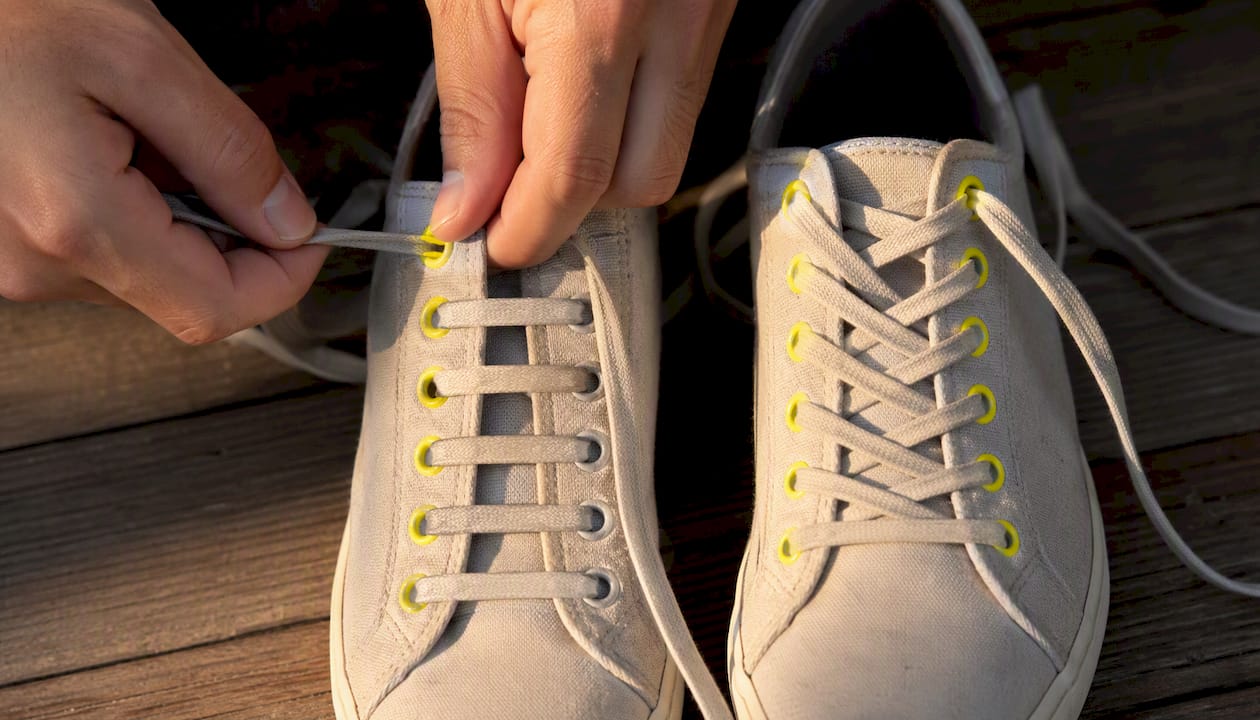
Laces run horizontally across the shoe at each eyelet pair, with vertical sections on the outside. This spreads tension across the full width rather than pulling the sides inward.
- Thread the lace straight across the bottom two eyelets (outside in).
- Run both ends straight up on the outside to the next eyelet.
- Thread each end straight across to the opposite side.
- Repeat: up the outside, across the inside, until you reach the top.
- Tie at the top.
When to use: Wide feet, swollen feet, or any situation where criss-cross feels like it is squeezing the sides. Lace consumption: uses noticeably more lace. Check you have at least 10 cm of extra length before switching.
**
Straight / bar lacing (dress shoes)
Produces a clean, parallel appearance across the shoe. Each lace runs straight across each eyelet pair with no visible diagonal crossings on top. Cheaney’s guide recommends this for Oxfords and Derbies, where the facings should close evenly.
- Thread the lace straight across the bottom two eyelets (outside in). One end stays short.
- Take the long end and thread it straight up on the inside to the next eyelet on the same side.
- Thread straight across to the opposite side.
- Thread up on the inside to the next eyelet.
- Repeat until you reach the top.
When to use: Dress shoes, Oxfords, Derbies. Lace consumption: uses slightly less lace.
**
2:1:3 lacing (for lace bite in boots)
A specific routing that redistributes pressure around the ankle area. Useful for high-top boots or skates where the standard pattern creates a painful pressure point across the ankle flex point. Ian Fieggen’s catalogue documents this as a practical fix for high-instep footwear.
- Lace the bottom two eyelet pairs normally (criss-cross).
- Skip the middle pair (the ankle flex point) and run each lace straight up on its own side.
- Resume criss-cross from the pair above the skip.
- Tie at the top.
When to use: Lace bite in boots, high instep, ankle flex pain. Lace consumption: neutral.
**
How to tie knots that actually stay tied
The lacing pattern is only half the equation. A poorly tied knot undoes everything, literally.
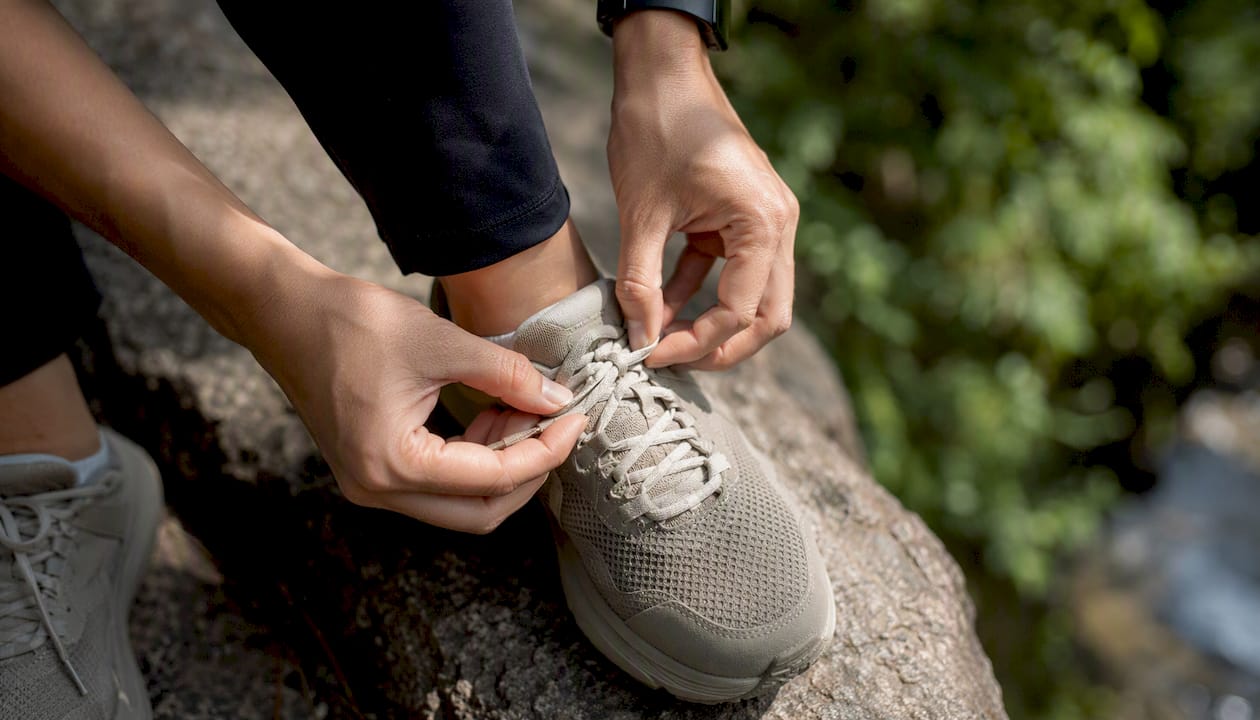
The short answer: use a reef (square) knot as your base, then finish with either a surgeon’s wrap or a double bow. LaceLab’s tying guide confirms that knot choice affects slippage under load, and that surgeon’s knots and double-wraps reliably reduce it.
How to tie a reef (square) knot base
- Cross the right lace over the left and pull through (standard first half-knot).
- Form a loop with the right lace.
- Wrap the left lace around the loop, going in the same direction as step 1.
- Push the left lace through to form the second loop.
- Pull both loops tight.
A reef knot sits flat and perpendicular. A granny knot twists to one side and loosens under movement.
How to spot a granny knot (and fix it)
Pull both loops sideways, away from each other. If the knot rotates and one loop drops, you have tied a granny knot. If the knot stays flat and tightens, it is a reef knot. REI’s pull test guidance describes exactly this check. To fix a granny: untie and repeat step 3 in the opposite direction.
Surgeon’s knot (for high-intensity activity)
- Complete the first half-knot (right over left).
- Wrap the right lace around the left twice before pulling through.
- Complete the bow as normal.
The double wrap adds friction at the base, preventing the knot from loosening before you finish tying the bow.
Double bow finish
After tying any base knot, form the second loop and wrap it around once more before pulling through. The bow is bulkier but will not come undone during a run or a long shift on your feet.
Pro Tip: Waxed laces hold a reef knot significantly better than smooth synthetic laces. If your bows come undone repeatedly despite correct technique, the lace material is often the culprit.
Which lacing fix matches your problem?
The table below maps common fit complaints to the recommended technique, explains why it helps, and flags the main trade-off.
| Problem | Recommended lacing | Why it helps | Main trade-off |
|---|---|---|---|
| Heel slip | Heel lock / runner’s loop | Locks the heel counter; reduces up-and-down movement | Uses slightly more lace; top eyelet must exist |
| Top-of-foot pressure | Window lacing or skip-sixth variant | Removes direct lace pressure over the hotspot | Slightly less midfoot hold in the window zone |
| Toe-box pressure / black toenails | Skip bottom eyelet; lace loosely at the toe | Reduces forward pressure on toes | Toe area feels less secure |
| Midfoot numbness | Window lacing over the numb zone | Eliminates compression at that specific point | Reduced hold directly over the window |
| Wide foot | Ladder lacing | Spreads tension evenly; avoids side squeeze | Uses more lace; takes longer to tighten |
| Narrow foot | Criss-cross with extra crossings | Pulls sides together more tightly | Can increase top-of-foot pressure |
| Plantar fasciitis concerns | Loose lacing at the toe, firm at the heel | Reduces forefoot compression; supports heel | Requires careful tension balance |
The core trade-off across all patterns is stability versus pressure relief. Techniques that lock the heel (heel lock, ladder) add hold but can increase tension elsewhere. Techniques that relieve pressure (window, skip-sixth) reduce hold in the gap zone. RunnersConnect’s evidence-based guidance suggests combining patterns, for example ladder lacing to the fifth eyelet with a heel lock finish, to get both benefits in the same shoe.
If a lacing change does not resolve persistent pain after two weeks of consistent wear, consult a podiatrist or a specialist shoe fitter. Lacing adjusts fit; it does not correct structural issues. For non-lacing measures, the Ydauk guide on reducing foot pain with everyday shoes covers complementary approaches.
A brief note on footwear types: lacing patterns only help shoes with eyelets and a flexible upper. Velcro closures, fixed uppers, and slip-ons cannot be adjusted this way. If your shoe has fewer than four eyelet pairs, most of the patterns above will not work as described.
Choosing the right lace length and material
Pick lace length and material to match your shoe’s eyelet count and your chosen pattern. Getting this wrong means either running out of lace before you reach the top, or having so much excess that the bow drags on the ground.
Lengths assume a standard flat lace. Round laces run slightly shorter through eyelets due to their diameter.
Ian Fieggen’s lacing comparison documents how lace consumption varies by pattern, which is the basis for the ladder column above.
Material choices matter more than most people realise:
- Flat laces: Grip eyelets better, stay tied longer, and suit most casual and running shoes. The default for most techniques in this guide.
- Round laces: Better for boots and dress shoes; thread more easily through small eyelets but slip more readily in a knot.
- Waxed laces: Significantly better knot security. Worth the small extra cost if your bows come undone regularly.
- Cotton vs synthetic: Cotton stretches slightly under load, which can loosen tension during a run. Synthetic (polyester) holds tension better for athletic use.
Pro Tip: Buy one spare pair of laces in the correct length when you buy new shoes. Laces wear out faster than the shoe, and finding an exact match later is surprisingly difficult.
For UK shoppers, most sports retailers stock laces by length in centimetres. Measure your existing lace before buying, rather than guessing from the shoe size.
A repeatable protocol to test whether your lacing change worked
The goal of any lacing system is to eliminate internal foot movement and remove hotspots. Because feet vary, Popular Science’s expert commentary emphasises that systematically testing different patterns is more reliable than guessing. The highest-value change is often a single targeted alteration, such as skipping one eyelet or adding a heel loop, rather than a complete re-lace.
Follow this five-step protocol before and after any lacing change:
- Baseline walk (2 minutes): Walk on a flat surface. Note any heel movement, pressure points, or numbness. Score each on a 0–3 scale (0 = none, 3 = significant).
- Stair test: Walk up and down a flight of stairs. Check whether the heel lifts on the upward step.
- Lateral movement test: Step side to side quickly five times. Note any foot sliding inside the shoe.
- Toe check: Press your thumb down on the toe box. There should be roughly one thumb-width of space between your longest toe and the end of the shoe.
- 10-minute wear check: Put the shoe on and go about normal activity for 10 minutes. Note any new pressure points or areas that feel better.
Score each category before and after the lacing change. A useful scoring sheet:
Any category that improves by 1 point or more suggests the change is working. If scores worsen or stay the same after two separate trials, try a different pattern. The Ydauk shoe fit checklist pairs well with this protocol for a more thorough assessment.
What I have learnt from testing lacing changes methodically
Most people re-lace their shoes once, decide it does not feel different, and give up. The protocol above exists precisely because the difference between a good lacing change and a bad one is often subtle at first, and only becomes obvious after 10 minutes of movement.
The pattern I see most often: someone with persistent heel slip tries the heel lock, ties a granny knot out of habit, and concludes the technique does not work. The technique works. The knot does not. Fixing the knot alone, without changing anything else, resolves the problem.
The other common surprise is how much a single skipped eyelet changes things. Skipping the eyelet directly over a pressure point, then resuming normal lacing above it, can eliminate a hotspot that has been there for years. Start with the smallest possible change, score it, and only move to a more complex pattern if the simple fix does not get you there.
If you want to go further, Ydauk’s YDA shoe technology page explains how the footwear design itself contributes to foot health and energy efficiency, which is worth reading alongside any lacing adjustment.
Sources
The sources below were used to build this guide. Each one offers practical depth on a specific aspect of shoe lacing.
- Shoe Lacing Methods (Ian Fieggen)
- How to lace & tie running shoes | REI expert advice
- How to lace your running shoes | RunnersConnect
- How to tie shoelaces (LaceLab blog)
- How to tie your shoes (Popular Science)