
How to measure foot size for shoes at home
Stand up, put your heel against a wall, and measure the distance to your longest toe in millimetres. That single number is the foundation of every shoe size you will ever buy. Do it standing rather than sitting, because your foot spreads under load and a seated measurement runs short. Measure both feet, not just one, and use whichever measurement is larger. Millimetres matter more than centimetres here because they are the universal unit that every UK, EU and US size chart converts from.
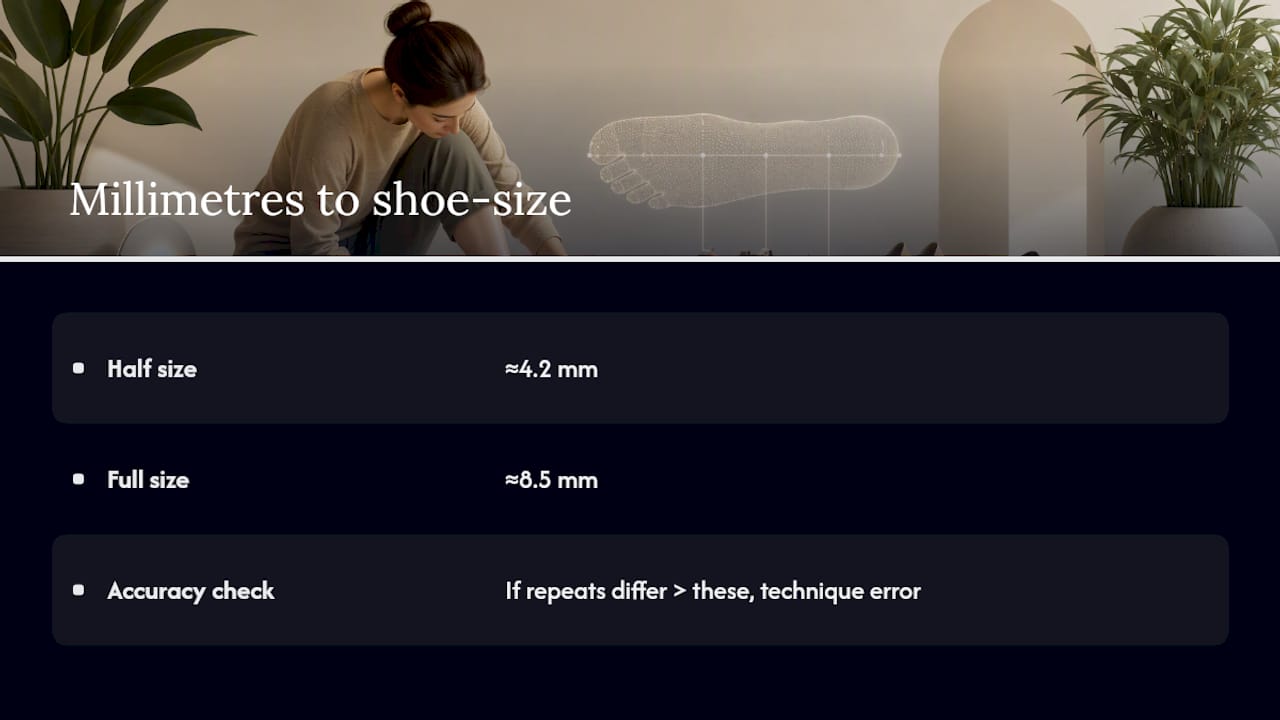
Once you have a number, check it makes sense. According to Shoesizeguide, a half size shift equals roughly 4.2 mm and a full size shift equals roughly 8.5 mm. If you measure the same foot twice and the readings differ by more than that, something went wrong in your technique, not in your foot. That gap is your built-in accuracy check, and it costs nothing but a second attempt.
Key Takeaways
Accurate shoe sizing starts with a standing, heel-to-toe measurement in millimetres, taken on both feet, with width recorded separately from length.
| Point | Details |
|---|---|
| Measure standing, not seated | Stand with full weight on the foot and measure heel to longest toe in millimetres. |
| Use the larger foot | Measure both feet and size your shoes to whichever measurement is bigger. |
| Record width separately | Measure across the ball of the foot and never assume width from length alone. |
| Verify before you trust it | Check any printed scale or app reading against a physical ruler first. |
| Validate with the mm rule | Re-measure if two traces differ by more than roughly 4.2 mm. |
| Consider fit-led footwear | Ydauk’s fit technology is built around width and comfort beyond a single size label. |
Table of Contents
- How to measure foot size for shoes: the tools you need
- Step-by-step method to measure foot length
- How to measure foot width and why it changes your fit
- When and how often should you measure your feet?
- Converting millimetres to UK, EU and US sizes
- Measuring children’s feet and allowing for growth
- Common measurement mistakes and what to do between sizes
- Can you trust a phone app or printable chart to measure your feet?
- Why millimetres and width matter more than a single size number
- Ydauk’s fit technology for readers who want a shortcut
- Sources
How to measure foot size for shoes: the tools you need
You don’t need anything specialist to get a millimetre-accurate result. A few household items and five minutes are enough.
- A sheet of A4 paper (or larger, if your foot won’t fit)
- A pencil, kept upright rather than angled
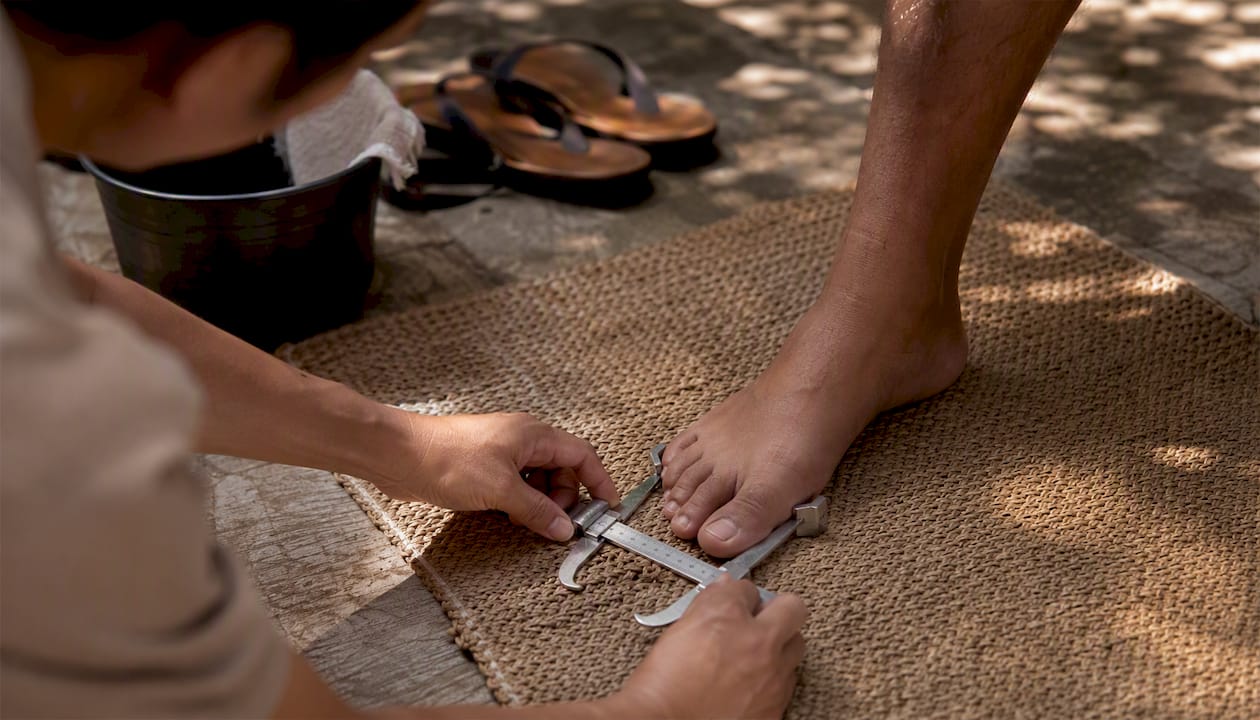
- A ruler or tape measure marked in millimetres, not just centimetres
- A hard-backed wall or door to stand against
- The socks you actually plan to wear with the shoes
If you’re printing a measuring chart instead of drawing your own, add a ruler to verify the printed scale before you trust it. A printer set to “fit to page” can quietly shrink or stretch a template, and a sizing error you never notice on paper turns into an ill-fitting shoe on your foot. A second pair of hands helps enormously if you’re measuring a small child who won’t stand still. Precision here isn’t fussy pedantry: a full UK size separates by roughly 8.5 mm, so a tool that only measures to the nearest centimetre can put you a size out before you’ve started.
Step-by-step method to measure foot length
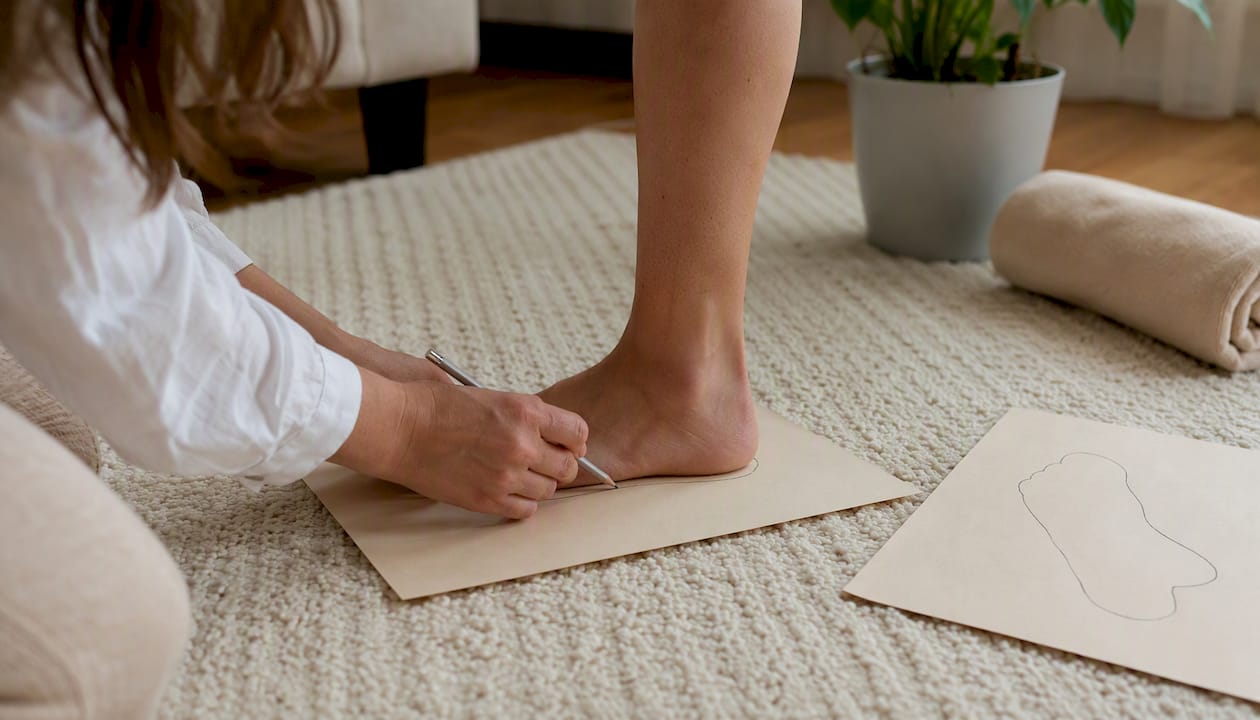
- Place the paper on a hard floor against a wall, then stand on it with your heel touching the wall and your weight fully on that foot.
- Hold the pencil completely vertical (not angled inward or outward) and trace around your foot, including the actual bulge of your longest toe.
- Step off the paper and draw a straight line marking the back of the heel and the tip of the longest toe.
- Measure between those two lines in millimetres, using a ruler, then round to the nearest millimetre.
- Repeat on the other foot and compare. Use the larger of the two measurements for buying shoes, since it’s normal for feet to differ slightly in size.
According to Michigan Foot Doctors’ guide to measuring foot size, foot length should always be taken heel to the tip of the longest toe, and the reading should come from a foot that’s bearing weight, not resting relaxed in the air. That distinction changes your result by several millimetres, which is easily the difference between a comfortable fit and a pinched one.
Pro Tip: Trace your foot twice on separate sheets and compare the two outlines. If they overlap almost exactly, your technique is solid; if they don’t, your pencil angle is probably the culprit.
How to measure foot width and why it changes your fit
Length gets all the attention, but width is often the real reason a shoe feels wrong even when the size on the box looks correct.
- Find the widest part of your traced outline, which is almost always across the ball of the foot, just behind the toes.
- Measure straight across that point in millimetres, keeping the tape or ruler perpendicular to the length line.
- Write this figure down separately from your length measurement. Never estimate width from length; the two don’t scale together in every foot shape.
Michigan Foot Doctors notes that a ball width above roughly 11 cm for men, or above roughly 10 cm for women, commonly indicates that wide-fit options will feel noticeably better than standard widths. If your length measurement lines up with a size but the shoe still feels tight across the toes, that’s your width telling you the real story. Ydauk’s own foot measuring guide covers the same principle with brand-specific notes.
Pro Tip: If you’re between width categories, size up in width rather than length. A slightly wide shoe stretches comfortably over time; a slightly narrow one rarely does.
When and how often should you measure your feet?
Timing changes your result more than most people expect.
- Measure in the late afternoon or evening, once your feet have swollen naturally through the day, rather than first thing in the morning.
- Always measure standing with full weight on the foot, never seated.
- Wear the actual socks (or a similar thickness) you intend to wear with the finished shoes.
- If two attempts on the same foot differ by more than half a size, something in your setup has shifted. Re-measure rather than average the two.
ShoeSizeguide.com recommends evening measurement specifically because morning feet can read up to half a size smaller, which is enough to push you into the wrong bracket on a size chart. Consistency in conditions matters as much as the ruler itself.
Converting millimetres to UK, EU and US sizes
Once you have a reliable millimetre figure for your larger foot, converting it is largely mechanical. Foot length in millimetres is the one figure that stays fixed across every regional system, which is why it’s worth writing down and keeping, even after you’ve found your size on a chart.
Use this as a starting reference point rather than a fixed rule, since brands vary in how generously they cut a last. For a full breakdown across more sizes and units, Ydauk’s shoe size in cm guide and conversion chart go further than a single table can here.
To validate your own conversion:
- Confirm your printed reference (if you used one) against a physical ruler before trusting any millimetre marks on it.
- Re-trace your foot if two attempts differ by more than roughly 4.2 mm, since that’s the threshold for a genuine half-size difference.
- When your length points to one size but your width suggests a snugger or looser fit, adjust width before you adjust length.
That 4.2 mm and 8.5 mm rule, confirmed by ShoeSizeguide.com, is genuinely the fastest way to catch a bad trace before it costs you a returned parcel.
Measuring children’s feet and allowing for growth
Children’s feet change fast enough that a measurement from three months ago can already be wrong.
- Measure standing, exactly as you would for an adult foot, since a seated child’s foot reads short.
- Measure both feet and size to the larger one. Asymmetry is common and usually harmless.
- Leave growth allowance beyond the measured length: roughly a thumb’s width, or 8 to 12 mm depending on the child’s age and the brand’s own fit notes.
- Michigan Foot Doctors recommends measuring before every new pair, since children’s feet can move up a size within a few months during growth spurts.
For a squirming toddler, get a second adult to hold the pencil while you keep the child’s foot flat, or use a distraction (a favourite toy held at eye level) to buy yourself the few seconds you need.
Pro Tip: Keep a dated record of each measurement on the same sheet of paper. Watching the growth line move over months tells you exactly when a new pair is actually due, rather than guessing.
Common measurement mistakes and what to do between sizes
A handful of errors account for most bad home measurements, and they’re all avoidable once you know to look for them.
- Measuring while seated, which shortens the reading because the foot isn’t spreading under weight.
- Angling the pencil inward or outward while tracing, which adds or removes several millimetres from the outline.
- Measuring a shoe’s insole instead of the actual foot. ShoeSizeguide.com warns that insoles typically run 10 to 15 mm longer than the foot itself, which produces a size that’s too large.
- Trusting a printed chart without checking its scale bar against a real ruler first.
If your millimetre measurement sits exactly between two sizes, check width before you decide anything else. A slightly wider fit in the smaller size often solves the problem better than sizing up and adding an insole to take up the extra length. For persistent fit trouble, a Brannock device remains the gold standard: it measures heel-to-toe length, arch length and width simultaneously, and research published in the Journal of Foot and Ankle Research notes that arch length, not heel-to-toe length, is the correct sizing measurement for some foot shapes. If your feet are unusually shaped or you’ve had recurring fit problems, a professional fitting is worth the ten minutes it takes.
Can you trust a phone app or printable chart to measure your feet?
Phone measuring apps are convenient, but they rely on your camera angle, your phone’s lens calibration and a flat, well-lit surface to work accurately. Get any of those wrong and the app’s confidence in its own reading doesn’t reflect reality.
- Apps are fast and require no printing, but small calibration errors compound quickly on a measurement where a few millimetres shifts your entire size.
- Printable charts avoid the camera problem entirely, but only if the printed scale is accurate. ShoeSizeguide.com is explicit that you should always check a printed 100 mm reference bar against a physical ruler before using the chart.
- Either method benefits from a sense-check: compare your result against a shoe you already own and know fits well.
Pro Tip: Measure your foot with paper and ruler first, then check the app or printout against that baseline. Trust the method that agrees with your control measurement, not the one that’s easiest to open.
If you’re weighing up which socks to wear during measurement, Sock Geeks’ guide to keeping toes warm is a useful reference for thickness, since a heavy winter sock and a thin summer one can shift your width reading by several millimetres.
Why millimetres and width matter more than a single size number
A single shoe size hides more information than it reveals. Two people can share a UK size 8 and have completely different comfort experiences, because one has a narrow foot and the other a wide one, and the size label says nothing about that. Millimetre measurements, kept alongside a separate width figure, are what actually predict comfort. A size is just a rough label that a brand’s last shape imposes on top of those two real numbers.
Brand variation is the part most buying guides underplay. One manufacturer’s size 8 can differ from another’s by close to half a size, purely because of how generously they cut around the toe box or how much arch support they build into the last. Keeping your raw millimetre measurement means you’re never fully at the mercy of a single brand’s sizing conventions. Cross-check it against that brand’s specific fit notes rather than assuming size numbers translate cleanly from one label to another.
Simple at-home methods, done correctly and standing, tend to be reliable within about half a size. That’s accurate enough for the overwhelming majority of buyers. It’s only when fit problems persist across multiple pairs that a Brannock device or a professional fitting starts to earn its place.
Ydauk’s fit technology for readers who want a shortcut
Measuring your own foot gets you most of the way there, but brand fit still varies once you translate millimetres into an actual pair of shoes. Ydauk builds its footwear around fit-specific technology rather than a one-size-label-fits-all last, which matters most for readers whose width or arch measurements sit outside a standard size chart.

The YDA Technology page explains how Ydauk’s foot health engineering translates into the shoes themselves, from width accommodation to energy-efficient support through the day. If you’ve just measured your feet and want to see how those millimetre figures map onto a shoe built with fit in mind from the last up, that’s the place to check next.