
How to soften new leather shoes without ruining them
The fastest way to soften new leather shoes is a combination of three things: a quality leather conditioner or balm worked into the upper, wearing the shoes with thick socks for short bursts, and gentle heat or a shoe stretcher on any specific tight spots. All three work together rather than as alternatives.
Before you touch anything, do two things. Test whatever product you’re using on a hidden patch, such as the inside of the tongue, and stay away from household cooking oils, which stain and degrade leather rather than soften it. You’ll usually feel a difference within hours of conditioning or a short heat session, but a full break-in typically takes some time depending on the shoe.
- Condition the leather before the first wear, then reapply during early wears
- Wear with thick socks for 30 to 60 minutes at a time, building up gradually over time
- Use a hairdryer on low heat or a shoe stretcher on tight spots only
- Always patch-test, and never use kitchen oils or full submersion
Key Takeaways
Softening new leather shoes safely comes down to combining conditioner, gradual wear, and targeted heat or stretching, while always patch-testing first and avoiding household oils.
| Point | Details |
|---|---|
| Condition before and after wear | Apply a quality conditioner evenly across the upper before the first wear and reapply every two to three wears. |
| Wear little and often | Build up wear time gradually with thick socks rather than forcing a full day immediately. |
| Use heat and stretchers sparingly | Hold a hairdryer several inches away, or use a stretcher on tight spots for 24 to 48 hours. |
| Recondition after alcohol or heat | Rehydrate the leather with conditioner immediately after any drying treatment. |
| Choose the right construction | Ydauk’s shoe technology reduces break-in time by supporting the foot from the first wear. |
Table of Contents
- How different leathers respond to softening
- What to do before you start softening the leather
- Step-by-step methods for softening stiff leather shoes
- Aftercare: conditioning and protecting the leather afterwards
- How long does it take, and how do you fix common problems?
- What actually matters when softening new leather shoes
- Softer leather, sooner, with the right shoe technology
- Sources
How different leathers respond to softening
Full-grain leather takes conditioner and oil well because its natural surface hasn’t been sanded away, so it absorbs moisture evenly and softens predictably. Top-grain and corrected-grain leather have had the surface buffed and often coated with a finish, which means oils sit on top rather than soaking in, and heavy conditioning can leave a patchy, greasy sheen. Patent leather and bonded leather are the two to treat with real caution. Patent’s glossy coating can crack under heat or dry out with alcohol-based products, while bonded leather (scraps bound with adhesive) simply doesn’t respond to conditioning the way genuine hide does.
Construction matters just as much as the leather itself. A Goodyear-welted shoe with a cork filler under the insole takes longer to break in because the cork has to compress and mould to your foot, whereas a cemented trainer-style upper softens faster since there’s less structure resisting the flex. If you’re choosing between leather types before you even buy, it’s worth reading up on leather shoe materials so you know what you’re working with.
- Full-grain: responds well to conditioners and oils
- Top-grain/corrected-grain: use sparingly, avoid overloading with oil
- Patent and bonded leather: avoid heat, alcohol, and heavy oiling
Pro Tip: If you’re not sure what type of leather you’ve got, check the shoebox label or the insole stamp before applying anything, most manufacturers state it there in small print.
What to do before you start softening the leather
Skipping preparation is where most people accidentally damage a new pair. Work through this order:
- Check the care label or box insert for the manufacturer’s recommended finish and any explicit warnings.
- Remove laces and insoles if they lift out easily, giving you cleaner access to the upper.
- Wipe away surface dirt and dust with a slightly damp cloth or a gentle leather cleaner, then let the shoe dry fully before applying anything else.
- Patch-test your chosen product on a hidden area, then gather everything you’ll need: soft cloths, conditioner, a hairdryer, thick socks, and a stretcher if you’re using one.
Rushing this stage, particularly skipping the patch test, is how people end up with a stained toe cap or a dry, cracked patch that no amount of conditioning fixes afterwards.
Step-by-step methods for softening stiff leather shoes
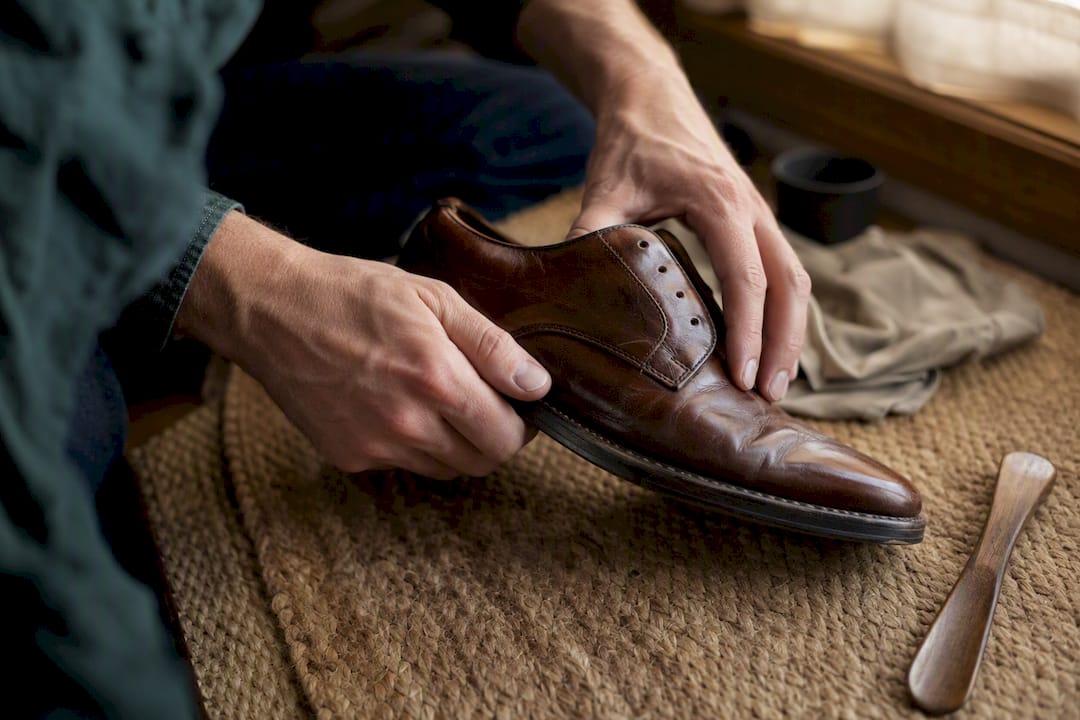
Leather conditioner, balm, or mink oil. Apply a quality conditioner in a thin, even coat across the entire upper, not just the tight spots, since even conditioning prevents patchy darkening and encourages uniform flex. Let it absorb for 15 to 20 minutes, buff off any residue, and repeat every two to three wears during the first fortnight. Applying conditioner before the first wear and reapplying during early wears hydrates the fibres and cuts down the time needed to soften them.
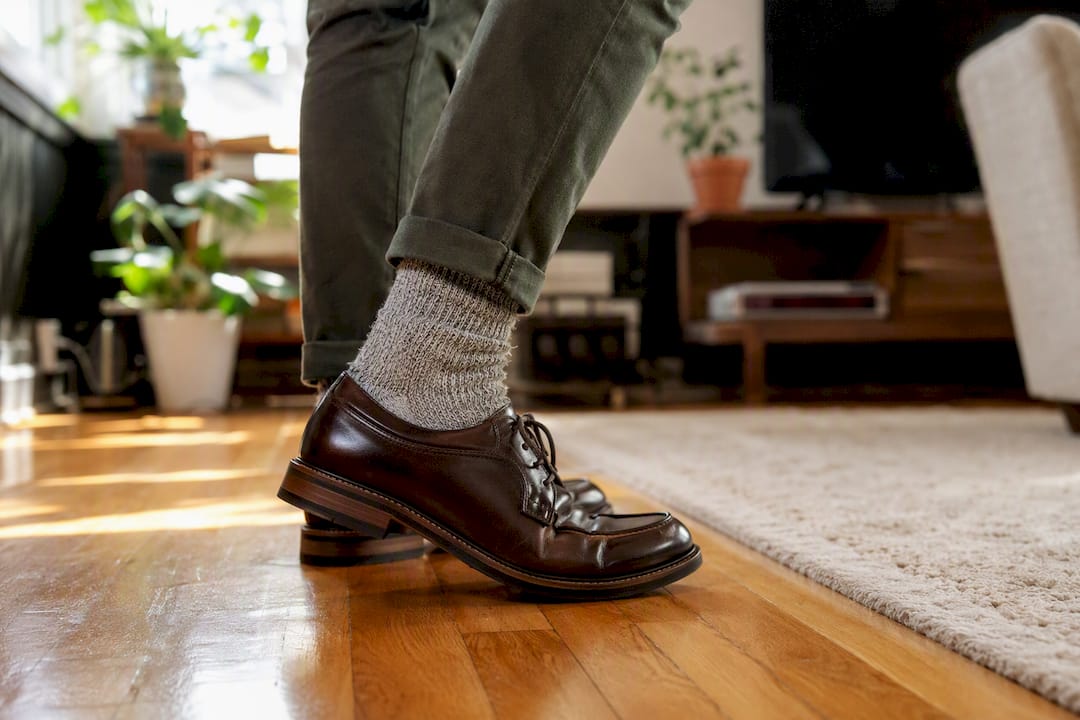
Wear-in with thick socks. Put on a pair of thick, cushioned socks and wear the shoes around the house for short periods. Increase the duration gradually until you can comfortably wear them for longer periods outdoors. Cobblers describe this as the primary driver of softening, since your foot’s warmth and movement relax the fibres far more evenly than any product can alone.
Heat and steam. Hold a hairdryer on low or medium heat several inches from the shoe, moving it constantly so no single area overheats, then put the shoe on immediately while it’s still warm and pliable and walk around until it cools into shape. Steam works the same way but faster, so it demands closer attention to avoid scorching or over-softening the leather. Either method must be followed straight away by wearing and conditioning, because heat pulls moisture out of the hide.
Rubbing alcohol and petroleum jelly. Dab rubbing alcohol lightly onto tight spots with a cotton pad, let it sit for a few minutes as it loosens the fibres, then work in a thin layer of petroleum jelly to soften and lubricate. This combination can genuinely relax stubborn spots, but alcohol dries leather out fast, so reconditioning afterwards isn’t optional. Test this one on a hidden patch first, more than any other method here.
Shoe stretchers and sprays. For a genuinely tight spot rather than general stiffness, a two-way shoe stretcher with a bunion or pressure-point attachment left in place for 24 to 48 hours does a more targeted job than wearing alone. Stretch sprays applied first make the leather more receptive to the stretcher’s pressure.
Stuffing and manual work. Pack the toe box with damp (not soaking) newspaper overnight to encourage gentle stretching, or use cedar shoe trees for a gentler, ongoing shape-hold. For a stubborn heel counter, cobblers sometimes use a rubber mallet with light, controlled taps, or hand-massage the leather and gently flex the topline, techniques that work because they mimic the warmth, moisture and mechanical force a professional would apply, just at a much smaller scale.
What not to do. Never microwave a shoe, never submerge the whole thing in water, and never use olive oil, butter, or other kitchen oils, they smell bad, attract dirt, and can permanently darken or rot the leather.
Aftercare: conditioning and protecting the leather afterwards
Any softening method involving heat or alcohol pulls moisture out of the leather, so rehydration afterwards isn’t optional. Apply a proper conditioner once the shoe has cooled or dried, work it in evenly, and buff off the excess with a soft cloth. Cedar shoe trees help the shape hold while the leather finishes drying, and rotating between two pairs gives each one a full day to dry out between wears, which reduces the risk of trapped moisture causing stiffness or mildew later.
- Recondition immediately after any heat or alcohol treatment
- Use cedar trees and rotate pairs rather than wearing the same shoes daily
- Condition every few weeks going forward, not just during break-in
- Avoid reaching for solvents or alcohol as a routine cleaning habit
If you want a broader routine beyond the break-in period, the guide to breaking in new shoes covers ongoing care once the initial softening is done.
How long does it take, and how do you fix common problems?
Expect a noticeable difference within hours of your first conditioning or heat session, but a full break-in generally takes multiple weeks with regular wear, potentially longer for Goodyear-welted shoes with a cork midsole, and shorter for cemented uppers with less internal structure.
- Darkened patches from oil or conditioner: buff gently with a soft cloth, then apply a neutral-coloured cream to even out the tone.
- Greasy residue after conditioning: wipe with a clean, dry cloth until the surface feels matte rather than tacky.
- Blisters or hot spots during wear-in: use heel grips or moleskin patches over the problem area rather than pushing through the pain.
- Persistent tightness after two to three weeks of consistent effort: stop forcing it. See a cobbler for a professional stretch, or consider whether the shoe is simply the wrong size or last shape for your foot.
What actually matters when softening new leather shoes
Most of the frustration people feel with stiff new shoes comes from treating softening as a single event rather than a process. You don’t fix stiff leather in one sitting, you nudge it a little each day, and the shoes that end up fitting best are usually the ones their owners were patient with. At YDA, that patience-first approach lines up with how we think about foot health generally: a shoe that’s forced into shape with too much heat or too much stretcher pressure can lose the support structure it was built with, which defeats the purpose of buying a well-constructed shoe in the first place. Conservative, gradual methods protect both the leather and your feet.
— Panagiotis
Softer leather, sooner, with the right shoe technology
Some of the break-in time you’re fighting against comes down to how a shoe is built in the first place. Ydauk designs its footwear around technology-led comfort features specifically to reduce that adjustment period, rather than leaving you to soften stiff leather from scratch with conditioner and a hairdryer.

The YDA shoe technology page explains how the construction and materials work together to support your foot from the first wear, which matters most for anyone with existing foot conditions where a long, uncomfortable break-in simply isn’t an option. If you’d rather protect the leather you already own, the YDA MAC 3 Leather Shoe Softy is worth adding to your kit alongside the methods above. Have a look at the current range and see which pair fits what your feet actually need.
Sources
GQ’s guide to breaking in leather shoes covers cobbler-taught techniques; Cheaney’s blog explains construction-related break-in timelines.
- How to Break In Leather Shoes (GQ)
- How to stretch & soften leather shoes at home (Wynsors)
- How to soften stiff leather shoes (LeatherRek)