How to clean white leather shoes and keep them white
A mild dish soap solution, a soft brush, and a microfibre cloth will handle most everyday dirt on white leather without risking the finish. The safest routine for cleaning white leather shoes is: remove laces, dry-brush loose dirt, wipe with a diluted soap solution, blot-rinse, stuff to hold shape, air-dry at room temperature, then finish with a colourless leather conditioner and a protector spray.
Do this now:
- Remove laces and insoles.
- Dry-brush with a soft-bristle brush or old toothbrush to lift surface dirt.
- Mix two or three drops of mild dish soap (Fairy works well) in a bowl of warm water.
- Wipe the upper in small sections with a damp microfibre cloth, working gently.
- Blot-rinse with a clean damp cloth — do not soak the leather.
- Stuff with white paper or a shoe tree to hold shape.
- Air-dry away from radiators, direct sunlight, and hairdryers.
Two things to do before anything else: patch-test any product on a hidden area (inside the tongue or under the welt) and never use direct heat or bleach on white leather.
Key takeaways
The safest and most effective routine for white leather shoes combines gentle soap cleaning, slow air-drying, and regular conditioning — with a patch test before any new product touches the leather.
| Point | Details |
|---|---|
| Start with dry brushing | Always brush off loose dirt before applying any liquid to avoid grinding grit into the leather. |
| Soap and water first | Two to three drops of mild dish soap in warm water handles most everyday grime safely. |
| Never use direct heat | Air-dry at room temperature for 8–12 hours; radiators and hairdryers cause stiffness and cracking. |
| Condition after every clean | Cleaning strips natural oils — a colourless conditioner restores suppleness and prevents cracking. |
| Patch-test every new product | Test on a hidden area first; if the finish changes, stop and seek a professional restorer. |
Table of Contents
- What do you need before you start cleaning?
- How to clean white leather shoes: removing everyday dirt
- How do you treat scuffs, stains, and stubborn marks?
- How to clean white rubber soles and midsoles
- How should you dry and condition white leather after cleaning?
- How do you keep white leather looking new between cleans?
- Sources
What do you need before you start cleaning?
Gather everything first so you are not hunting for a cloth mid-clean.
Essentials:
- Soft horsehair or soft-bristle brush, or an old toothbrush
- Two or three microfibre cloths (white or light-coloured to avoid dye transfer)
- Soft sponge and a small bowl
- Mild dish soap — Fairy or any pH-neutral equivalent
- Lukewarm water
For stains and soles:
- Melamine foam (magic eraser) — for rubber soles and midsoles only, not the leather upper
- pH-neutral leather cleaner such as Collonil Leather Soap
- Colourless leather conditioner such as Furniture Clinic Leather Balm
As Wirecutter notes, a mild dish detergent, soft brush, and soft cloths handle the vast majority of cleaning tasks — you rarely need anything more aggressive. The Spruce adds that pH-neutral cleaners are the safest choice for leather specifically, since high-alkaline products can strip the finish.
Extras worth having:
- Shoe trees or crumpled white paper (never newspaper — the ink transfers)
- Non-chlorine oxygen bleach for laces (e.g. Vanish Oxi Action)
- Nitrile gloves if you are working with stain removers
- Spare white cotton laces in case originals cannot be restored
How to clean white leather shoes: removing everyday dirt
The method is gentle soap and warm water, applied with a soft cloth in small sections — never soaking, always blotting.
- Prepare the shoe. Remove laces and insoles. Insert a shoe tree or stuff with white paper to keep the shape firm while you work.
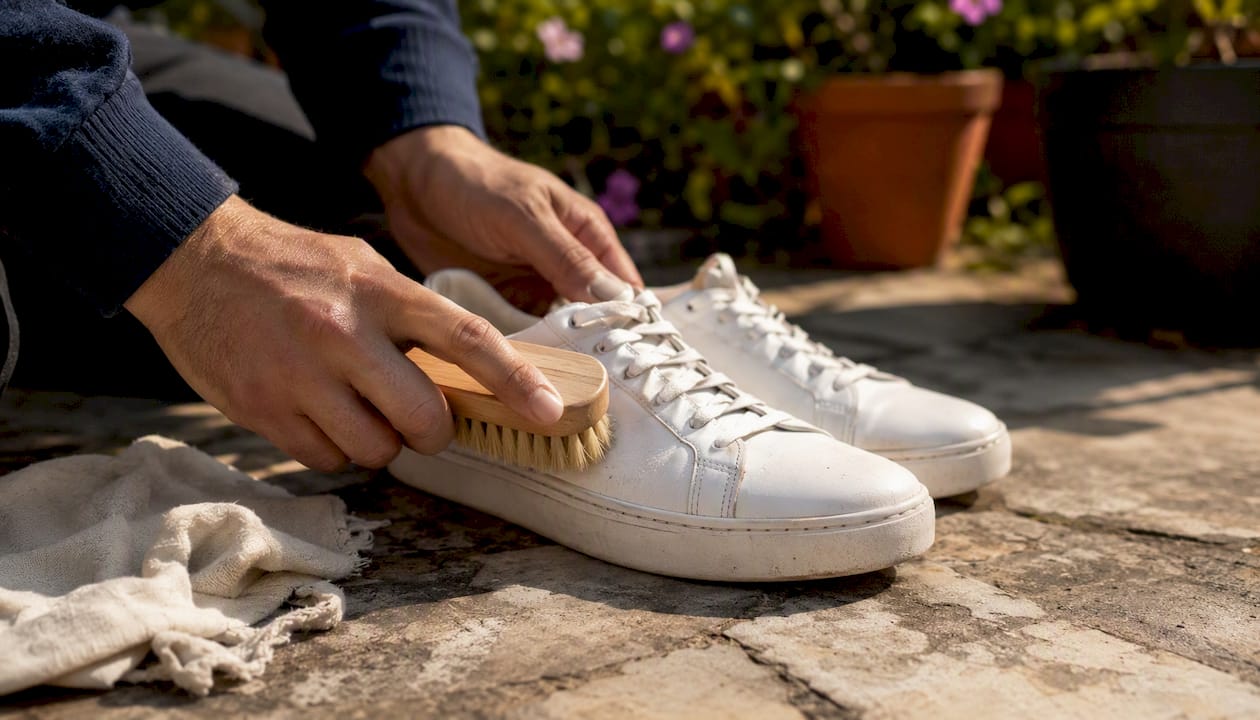
- Dry-brush first. Use a soft-bristle brush to sweep away loose dirt and dust. Skipping this step means you are rubbing grit into the leather with your cloth.
- Mix your solution. Two to three drops of mild dish soap in a bowl of lukewarm water. The water should look barely soapy.
- Work in sections. Dampen a microfibre cloth in the solution, wring it out well, and wipe a small area using light circular strokes. Move to the next section before the leather dries.
- Blot-rinse. Use a second clean damp cloth (water only) to remove soap residue. Soap left on leather attracts more dirt.
- Reshape and air-dry. Stuff the shoe, set it on a breathable surface, and leave it at room temperature.
Good Housekeeping’s routine for white leather trainers follows the same sequence, adding a leather conditioner as the final step once the shoe is fully dry. Cobbler Union’s care guide recommends dry brushing, a mild soap clean, and then conditioning on a regular cadence — not just after a deep clean.
Pro Tip: After every wear, give the uppers a quick pass with a dry soft brush or microfibre cloth. Thirty seconds of brushing prevents the kind of ground-in grime that needs a full clean.
How do you treat scuffs, stains, and stubborn marks?
Choose your method by stain type — the wrong approach can set a stain permanently or abrade the finish.
- Scuffs: Rub gently with a clean microfibre cloth or a white pencil eraser. For deeper scuffs, a small amount of colourless leather conditioner on a cloth often lifts the mark.
- Ink: Blot immediately with a cotton pad lightly dampened with isopropyl alcohol. Work from the outside of the mark inward. Do not rub.
- Grease or oil: Sprinkle a little cornflour or talcum powder on the stain, leave for 20–30 minutes to absorb, then brush away and follow with a leather cleaner.
- Yellowing: A specialist leather whitener or recolouring balm is the safest fix. Soap and water alone rarely reverse UV yellowing.
- Mould or mildew: Wipe with a cloth dampened in a diluted white vinegar solution (one part vinegar, one part water), then dry thoroughly and condition. This is one of the few situations where vinegar is appropriate on leather — and even then, patch-test first.
MioLook’s expert guide warns that baking soda and toothpaste can abrade the leather’s surface coating and accelerate ageing. Clean Bees goes further, listing baking soda, white vinegar, cream of tartar, and lemon juice as products to avoid on leather finishes generally. The risk is real: these are mildly acidic or abrasive, and white leather’s finish is thinner than you might expect.
Pro Tip: If a gentle method fails after two attempts, stop. Repeated scrubbing causes more damage than the original stain. Switch to a dedicated leather cleaner or consult a professional restorer.
If the shoe is high-value or the stain covers a large area, a patch-test failure is your signal to hand it to a specialist rather than escalate DIY methods.
How to clean white rubber soles and midsoles
Clean soles separately from the leather upper — the tools that work on rubber will damage leather.
- Protect the upper. Tuck a strip of masking tape along the welt where the sole meets the leather.
- Dampen the sole. Use a damp cloth to wet the rubber surface.
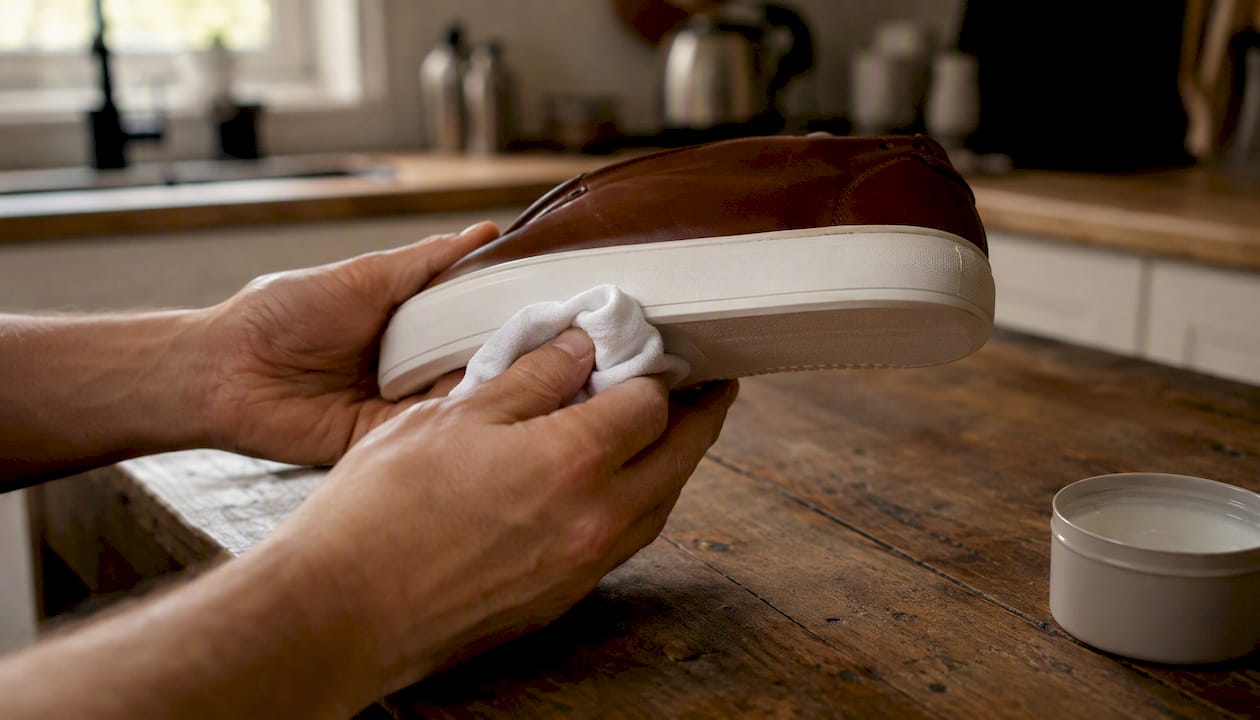
- Apply melamine foam. Rub a damp magic eraser along the rubber midsole using moderate pressure. It removes scuffs and yellowing from rubber effectively. Keep it away from the leather grain entirely.
- For stubborn grime, use a toothbrush with a small amount of diluted washing-up liquid, scrubbing in short strokes.
- Rinse and dry. Wipe away residue with a clean damp cloth and allow to air-dry before removing the masking tape.
For welt and edge scuffs where rubber meets leather, use a cotton bud with a tiny amount of leather cleaner rather than the melamine sponge.
Pro Tip: Melamine foam is mildly abrasive. On rubber, that abrasion is an asset. On leather, it strips the finish within seconds — keep the two surfaces strictly separate.
Cleaning and replacing laces and removable insoles
Remove laces and insoles before cleaning the shoe — they need different treatment and will not come clean if left in place.
- Laces: Soak in warm water with a scoop of non-chlorine oxygen bleach (Vanish Oxi Action or similar) for 30 minutes, then rinse thoroughly and air-dry flat. Machine-washing laces in a mesh bag is also fine. Never machine-wash the leather shoe itself.
- Insoles: Hand-scrub with a soft brush and a small amount of mild soap, rinse with a damp cloth, and air-dry completely before reinserting. Damp insoles left inside a shoe breed odour and mould.
- Deodourising: Sprinkle a little baking soda inside the shoe (not on the leather upper) and leave overnight, then tap out before wearing. This is one of the few safe uses of baking soda in shoe care.
- Replacement: If laces are grey or fraying after cleaning, replace them. A fresh pair of white cotton laces costs under £2 and transforms the look of a clean shoe.
How should you dry and condition white leather after cleaning?
Always air-dry slowly at room temperature, away from direct sunlight and any heat source. Leather-care practitioners are clear on this: rapid drying causes stiffness and can accelerate cracking. A radiator or hairdryer might feel efficient, but the heat drives moisture out unevenly, leaving the leather brittle.
- Blot excess moisture with a dry microfibre cloth immediately after rinsing.
- Stuff the shoe with white paper or a shoe tree to maintain shape as it dries.
- Set on a breathable surface — a wooden rack or a clean towel — not a plastic tray that traps moisture underneath.
- Allow 8–12 hours at room temperature before touching the leather again.
- Apply conditioner. Once fully dry, work a small amount of colourless leather conditioner (Furniture Clinic Leather Balm or similar) into the upper using a soft cloth, using circular strokes. Less is more — a thin, even coat is all the leather needs.
- Buff lightly with a clean cloth to remove any excess.
Conditioning after every clean is not optional. Cleaning strips some of the leather’s natural oils, and without replenishment the upper becomes dry and prone to cracking. For further guidance on maximising shoe durability, conditioning frequency and storage both play a significant role.
Pro Tip: Never use alcohol-based wipes or hand sanitiser to speed-dry or spot-clean white leather. Alcohol strips the finish faster than almost anything else.
How do you keep white leather looking new between cleans?
Frequent light maintenance beats infrequent deep scrubs. The Manual’s leather-care guidance makes this point directly: a regular light routine preserves white leather far better than occasional aggressive cleaning sessions.
- After every wear: Brush or wipe the uppers with a dry microfibre cloth to remove surface dust before it settles.
- Monthly: Apply a colourless leather conditioner to keep the leather supple. Pair this with a check for any early scuffs or marks.
- After every deep clean: Apply a water-repellent protector spray designed for smooth leather. This creates a barrier against rain, mud, and light stains.
- Storage: Keep shoes on shoe trees in a cool, dry place away from direct light. Avoid plastic bags, which trap moisture. A bespoke shoe storage solution can make this habit much easier to maintain consistently.
Pro Tip: Set a phone reminder on the first of each month: wipe, condition, inspect. Three minutes of attention prevents the kind of neglect that turns a scuff into a permanent mark.
When should you use a professional cobbler or restorer?
Some problems are beyond safe DIY territory. Stop and seek a specialist if you encounter any of the following:
- UV yellowing on polymer or synthetic uppers that does not respond to a leather whitener — this discolouration is often irreversible without professional repainting.
- Ripped seams or delaminating soles — structural repairs require adhesives and tools that are not practical at home.
- Extensive ink stains that have spread or set after initial blotting.
- A failed patch test — if a product visibly alters the finish on a hidden area, do not proceed on the main surface.
- High-value shoes where the cost of a mistake exceeds the cost of professional care.
Professional interventions typically include recolouring, glue repair, and sole reattachment. A good cobbler can also advise on whether a shoe is worth restoring or has reached the end of its useful life.
A note on leather care
White leather rewards patience more than effort. The readers who get the best results are not the ones who scrub hardest — they are the ones who clean gently, dry slowly, and condition consistently. The patch-test rule is not a formality; it is the single step that prevents an irreversible mistake on a pair of shoes you actually care about. Follow the sequence in this guide, resist the urge to reach for harsh home remedies, and most white leather shoes will stay presentable for years.
Sources
The following sources informed this guide and are worth reading for further detail:
- How to clean white leather shoes — GoodHousekeeping
- How to clean white shoes - The Spruce
- How to clean white sneakers | Reviews by Wirecutter
- How to clean white leather shoes: Expert tips — MioLook
- How to Clean Leather Shoes or Boots | Shoe care guide - Cobbler Union
- What you can and CAN’T use to clean leather - Clean Bees
Recommended UK products: Collonil Leather Soap (pH-neutral leather cleaner), Furniture Clinic Leather Balm (colourless conditioner), Vanish Oxi Action (for laces), and any Fairy-style mild dish soap for general cleaning. Product examples are prompts only — always follow the manufacturer’s instructions and patch-test before use.
For footwear designed to stay looking good with minimal effort, explore Ydauk’s shoe technology and the thinking behind how their shoes are built.