
Clinically Backed mm First Method to Measure Women's Shoe Size
Stand up, put your full weight on your foot, and measure from your heel to your longest toe in millimetres, ideally in the evening. Use whichever foot measures longer, add roughly 12 mm for toe clearance, then check that figure against a UK/US/EU conversion chart rather than trusting the label on your last pair. Podiatry-backed measurement guidance and recent clinical work on shoe sizing both point to this as the most reliable method, and it’s the same logic YDA uses when mapping its own lasts to real foot data.
TL;DR:
- Measure feet in the late afternoon or evening to capture their largest natural size and reduce sizing errors caused by swelling.
- Record both length and width in millimetres, and always size for the larger foot if feet differ in size.
- Add roughly 12mm of toe clearance beyond the longest toe measurement to prevent discomfort and toenail damage inside shoes.
- Use real foot measurements rather than brand labels or overseas size charts, especially since labelled sizes vary widely between brands.
- Try on shoes with the same socks used during measurement to ensure accurate fit and check that the widest part of the shoe aligns with your foot’s widest point.
Table of Contents
- How do you measure your foot for the right shoe size?
- Converting foot length in mm to UK, US and EU sizes
- Why width and toe-box clearance matter as much as length
- How to check the fit and avoid the mistakes everyone makes
- Special cases: swelling, orthotics and children’s feet
- What accurate measuring means for how YDA designs fit
- Put your measurements to work on YDA’s sizing pages
- Sources
How do you measure your foot for the right shoe size?
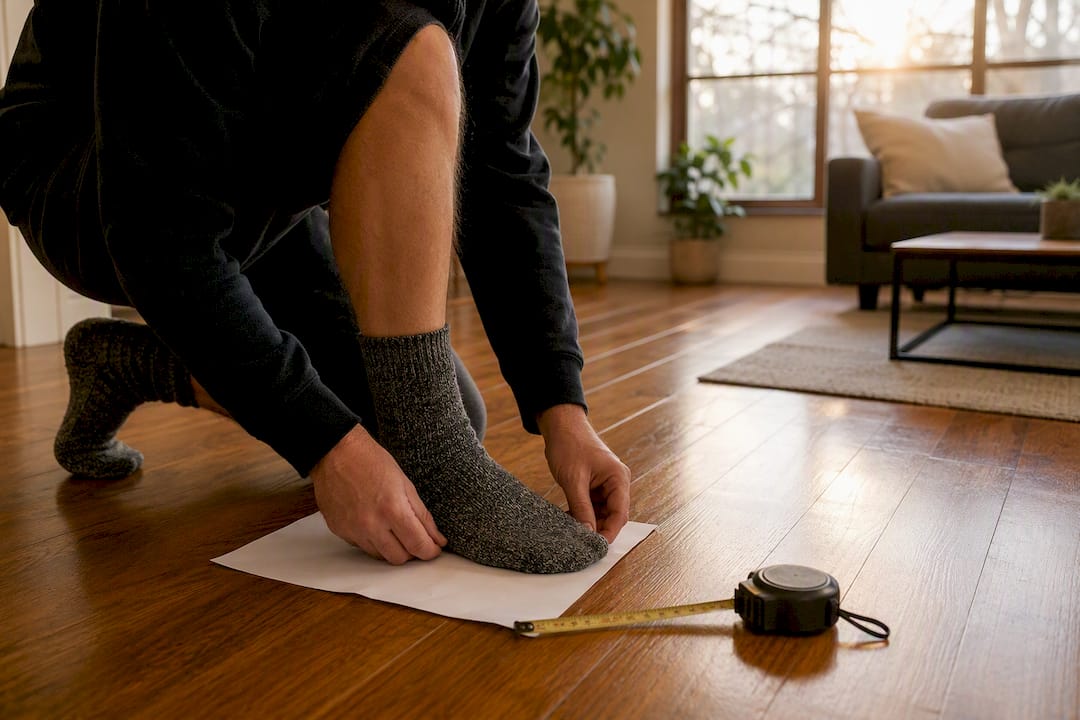
You need five things: a ruler or tape measure, a sheet of A4 paper, a pen, a hard floor, and the socks you actually intend to wear with the shoes. Skip the carpet. A soft surface lets your foot sink and distorts the trace by several millimetres, which is enough to bump you into the wrong size.
Timing matters more than most people realise. Feet swell over the course of a day, so a measurement taken in the morning can read measurably smaller than one taken later in the day, purely from fluid shift and standing time. Podiatrists recommend measuring in the late afternoon or evening precisely because it captures your foot at its largest natural volume, and that’s the size you want your shoes to fit.
Here’s the step-by-step:
- Place the paper against a wall or a straight edge on the hard floor.
- Stand on the paper with your heel touching the wall and your weight fully on that foot. Sitting down changes the shape of your arch and shortens the measurement, so this has to be done standing.
- Hold the pen perpendicular to the paper (not angled) and mark the tip of your longest toe. For most women this is the big toe, but check. Second-toe-longest feet aren’t rare.
- Measure the straight-line distance from the wall to that mark in millimetres.
- Find the ball of your foot, the widest part, usually just behind the toes, and measure straight across it in millimetres.
- Repeat all of this on the other foot, then measure the widest point of that foot in millimetres too.
Feet are rarely identical. One is often slightly longer than the other, and that’s completely normal. Record both length figures in mm and cm, note which foot is bigger, and use that measurement for sizing. A sliding foot measurer, the kind you’ll have seen in shoe shops, does length and width in one motion and cuts out tracing error if you want to invest in one, but a pen and paper works just as well when done properly, as Vogue’s own measuring guide confirms.
Pro Tip: Measure in the exact socks, or bare feet, you’ll wear with the finished shoes. Thick winter socks can add 3 to 4mm of effective width, and skipping this step is one of the quietest reasons online shoe orders come back.
Converting foot length in mm to UK, US and EU sizes
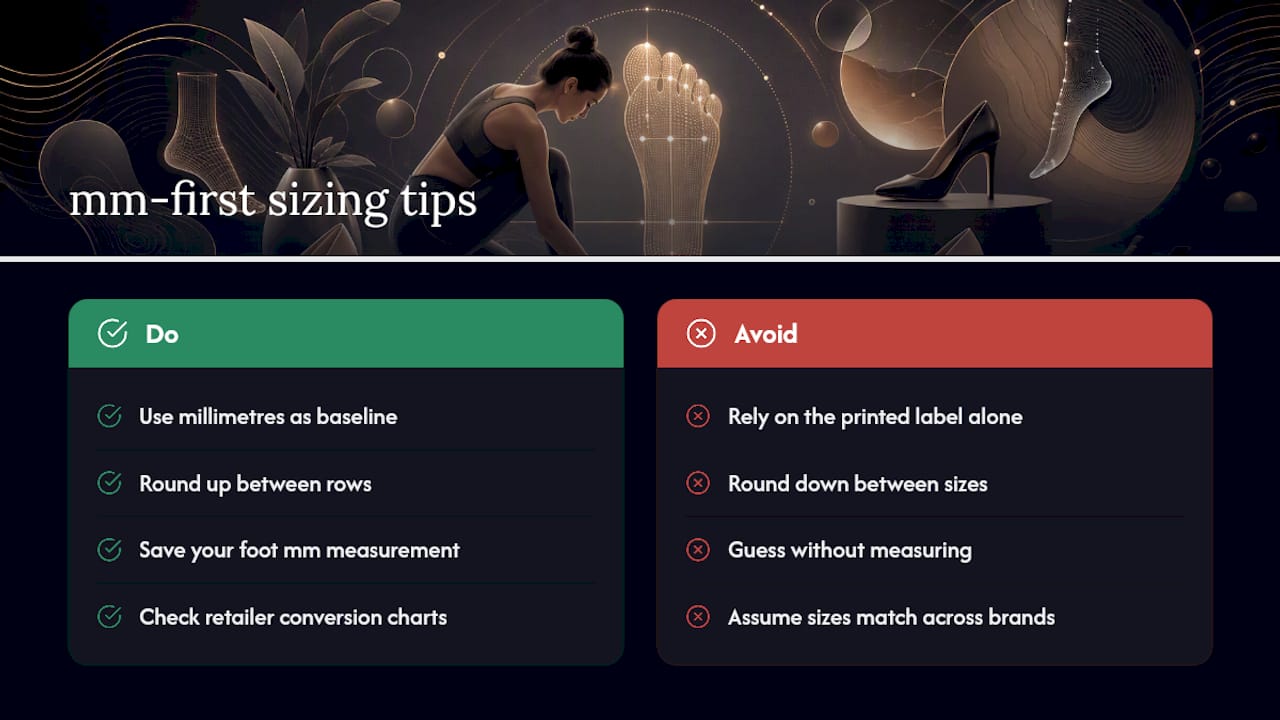
Millimetres are the one measurement that doesn’t lie to you. Labelled sizes drift between brands and even between styles from the same brand, but a foot length of 240mm is 240mm everywhere, which is why research into shoe sizing systems treats mm as the reliable baseline for conversion rather than the size printed on a box.
If your measurement lands between two rows, round up rather than down. A tight toe box causes far more discomfort than a shoe with a little extra room, and most brands build their half-sizes with slightly more forgiveness at the larger end anyway. Japanese sizing sidesteps this whole conversion problem by using your foot length in centimetres directly as the size, which is worth knowing if you ever shop from a JP-sized retailer.
Save your mm figures somewhere permanent, a notes app, a sticky note in your wallet, wherever you’ll actually find it again. Brand-specific charts vary enough that it’s worth checking each retailer’s own conversion notes before you buy, and having a saved measurement to hand makes that a thirty-second job instead of a guessing game. YDA’s own shoe size conversion chart is built around this exact mm-first approach.
Why width and toe-box clearance matter as much as length
Length gets all the attention, but width is where a lot of “my shoes never fit right” complaints actually come from. Measure straight across the ball of your foot, the widest point, while standing. Standard medium width sits around 81mm of forefoot width at a size 8 reference point, and each width letter, from narrow to wide, typically shifts that figure by roughly 4 to 5mm. A shoe one width letter too narrow will pinch at exactly the point where your foot needs to flex.
The 12mm rule matters just as much. Toe-box clearance guidance from podiatric sources recommends adding around 12mm, roughly half an inch, beyond your longest toe measurement. Your foot doesn’t stay static inside a shoe. It splays and your toes extend forward with every push-off step, and without that clearance, toenail trauma and blistering follow.
- Measure width standing, not seated, for the same reason you measure length standing.
- Try shoes on wearing the socks you measured in, not the thin ones sitting in the shop drawer.
- Check that the shoe’s widest point lines up with your foot’s widest point, not somewhere ahead of or behind it.
How to check the fit and avoid the mistakes everyone makes
A properly fitted shoe leaves about one thumb’s width of space between your longest toe and the front of the toe box. Your heel shouldn’t lift or slide when you walk, and the ball of your foot should sit exactly at the shoe’s widest point with no pinching or overhang at the sides.
Most fit problems trace back to the same handful of errors:
- Measuring seated instead of standing, which undersizes the foot by several millimetres.
- Tracing on carpet rather than a hard floor.
- Measuring only one foot and assuming the other matches.
- Measuring first thing in the morning, before your feet reach their full daily volume.
- Ignoring width entirely, or measuring without the socks you’ll actually wear.
If your feet differ in size, always buy for the larger one. A thin insole or heel grip in the smaller shoe fixes the rest.
Special cases: swelling, orthotics and children’s feet
Pregnancy and fluid retention change foot size temporarily, sometimes by a full size or more. Measure later in the day and re-measure every few weeks rather than trusting one reading. If you wear orthotics, measure with the orthotic inside the shoe or get fitted by a specialist, since standard lasts often can’t accommodate the extra volume.
Children’s feet grow fast enough that a measurement from six months ago is unreliable. Re-measure every few months, and lean on in-store measuring tools rather than a home trace, since growing feet need a bit more margin than adult sizing rules allow. Experts generally recommend re-measuring at least once a year even for adults, since weight change, age and activity levels all shift foot shape over time.
What accurate measuring means for how YDA designs fit
Getting the mm measurement right is the single biggest factor in whether a shoe bought online actually fits, and it’s the same data point YDA’s design team leans on when shaping a last. YDA Technology exists because foot health doesn’t come from styling alone, it comes from a shoe built around real measurements rather than an averaged guess.
If you’re ever unsure which width or length to choose against a specific YDA style, our customer service team can talk you through it, and it’s worth keeping your saved mm figures handy so you can reuse them across every product sizing page you visit.
— Panagiotis
Put your measurements to work on YDA’s sizing pages
Once you’ve got your heel-to-toe measurement in millimetres and your width across the ball of the foot, you’re in a stronger position than most online shoppers ever reach, because you’re buying against real numbers instead of a size label that varies from brand to brand.

YDA’s product pages list the last shape, width option and recommended fit for every style, built around YDA Technology’s approach to foot health and energy-efficient design, so you can match your own measurements directly rather than guessing from a photo. Every listing also carries clear returns and exchange information, so if a size still needs adjusting once it arrives, that’s a straightforward fix, not a lost order. Browse the technology behind YDA shoes and see how the last shape you’ve just measured for translates into a shoe you can actually rely on.
Sources
- How to measure your feet for the right shoe size — Naples Podiatrist
- Shoe size guide — Michigan Foot & Ankle
- Journal of Foot and Ankle Research — shoe sizing research
- Vogue — How to measure shoe size