
Three Step Shop Ready Checklist for Choosing Arch Support Shoes
Test your arch type at home first, then shop within the matching category: low arches need stability or motion-control shoes, neutral arches do well in balanced stability or neutral shoes, and high arches need cushioned neutral shoes with flex. Do the wet-print test before you buy anything. Whatever you pick, comfort and fit decide the outcome, not the logo on the side.
TL;DR:
- The wet-print test accurately classifies arch types as flat, neutral, or high, guiding appropriate shoe support for each foot shape.
- Flat feet or low arches require stability or motion-control shoes with firm medial posts, while high arches need cushioned, flexible neutral shoes, avoiding correction-focused models.
- Shoes should be checked for build quality by assessing heel cup depth, flexibility, and insole removal capability to ensure proper fit and support.
- Trying shoes in the late afternoon and walking for at least ten minutes helps confirm comfort and correct support before purchase.
- OTC insoles matching your arch type are suitable for most, but persistent foot pain or deformities necessitate professional evaluation for custom orthotics.
Table of Contents
- How to identify your arch type at home
- Shoe features and categories by arch type
- Fit and try-on tips: testing arch support before you commit
- Insoles versus custom orthotics: which one do you actually need?
- Common mistakes and the downsides of getting it wrong
- Why you can trust this guide
- A three-step checklist I’d actually use in a shop
- How YDA Technology fits into this picture
- Sources
How to identify your arch type at home
You don’t need a podiatry appointment to work out whether you have a low, neutral, or high arch. Three checks, done in the right order, will tell you almost everything a fitting-room assistant would.
- Wet the sole of one foot and step onto a piece of thick paper, cardboard, or a dry patio slab. Step naturally, with your full body weight on that foot, then step off and look at the print.
- Read the print. A full, solid footprint with barely any curve on the inner edge means a low or flat arch. A print showing roughly half the middle section, with a clear but moderate inward curve, means a neutral arch. A print showing only a thin band connecting heel and forefoot, sometimes with the two barely joined at all, means a high arch. This wet footprint method is a standard clinical approach for a reason: it’s fast and reliably classifies arch type into the three main categories.
- Check the wear pattern on an old pair of shoes. Flip them over. Heavy wear along the inner edge of the sole, particularly under the ball of the foot, points to overpronation, common with low arches. Wear concentrated on the outer edge, especially near the heel and little toe, suggests supination, typical of high arches. Fairly even wear across the middle of the sole usually means a neutral gait.
- Do a quick palpation check. Sit down, put your foot flat on the floor, and run a finger along the inside edge from heel to big toe. If you feel almost no gap between your foot and the floor, that lines up with a low arch. A noticeable, springy gap you can slide two or three fingers under suggests a high arch.
- Write down your result before you go shopping. Note which foot you tested (test both; they’re often slightly different) and which of the three categories it fell into. That single note prevents you from being talked into the wrong shoe by a salesperson or a review headline.
Ten minutes, no equipment beyond paper and water. Worth doing before you spend anything.
Shoe features and categories by arch type
Once you know your arch type, the shopping list gets specific fast. This is where most people go wrong: they buy on the assumption that “supportive” is one setting, when actually the correct support pushes in different, sometimes opposite, directions depending on your foot.
Low or flat arches need motion-control or stability shoes. Look for a firm medial post (a denser wedge of foam on the inner side of the midsole), a rigid heel counter, and a straight rather than curved last. These features resist the inward roll (overpronation) that flat feet are prone to, and podiatrist guidance consistently points to this combination for flat-footed shoppers. Motion-control shoes do feel stiffer underfoot than a typical trainer, and that’s the trade-off: more control, less give.
Neutral arches have the easiest job. A neutral or mild-stability shoe with balanced cushioning and a semi-curved last will usually suit fine, since the foot already manages its own shock absorption reasonably well without heavy correction.
High arches need the opposite approach entirely. These feet don’t flatten out on impact the way a low arch does, so they take more shock straight up through the leg. The fix is a cushioned neutral shoe with a flexible midsole and generous padding at the heel and forefoot, paired with a curved last that lets the foot move. Avoid motion-control shoes and medial posts here; forcing more correction onto a foot that already supinates can push it further outward and risks lateral overload or stress injuries over time, according to the same podiatrist-sourced feature guidance.
Beyond category, run a quick construction check on any shoe before buying:
- Can the insole be removed? If not, fitting an orthotic or aftermarket insole later becomes difficult or impossible.
- How deep is the heel cup? A shallow cup lets the heel slide around, undermining whatever support the midsole offers.
- Where does the shoe bend when you flex it? It should crease at the metatarsal heads (the ball of the foot), not in the middle of the arch.
- Is there roughly a thumb’s width of space in the toe box? Cramped toes change how weight transfers through the whole foot.
Pro Tip: Bend the shoe in half with both hands before you even try it on. If it folds like a taco anywhere near the arch, put it back. A shoe that flexes in the wrong place gives you nothing to stand on, whatever the arch type on the label.
If you’re drawn to minimalist or barefoot-style footwear, know that this category deliberately strips out structured arch support, which works against a low arch far more than it works for one. A look at barefoot sandal design makes the trade-offs clear: great for foot strength work in the right circumstances, risky as an everyday choice if you overpronate.
Fit and try-on tips: testing arch support before you commit
Buying the right category on paper doesn’t guarantee the right shoe. Fit still has to be checked physically, and there’s a short protocol that takes about ten minutes in a shop or at home with a delivered pair.
- Try shoes later in the day, when feet have swollen slightly from normal daily activity, and wear the socks (or orthotics) you’d actually use with them. Trying shoes first thing in the morning on bare feet is a common way to buy a size too small.
- Run the torsion test. Hold the shoe at the toe and heel and twist gently in opposite directions, like wringing a towel. A stable shoe resists this twist through the midfoot; one that folds and spirals easily won’t control motion the way a low or neutral arch often needs. This torsion check is a standard part of a proper fitting.
- Press the heel counter (the stiff cup around the back of the shoe) between your fingers. It should resist compression and spring back, not cave in. A heel counter that collapses easily won’t lock your heel in place, and a loose heel undoes stability elsewhere in the shoe.
- Check toe room with a thumb’s width between your longest toe and the front of the shoe, while standing.
- Walk, don’t just stand. Take a proper walk around the shop or the room. Notice whether your foot rolls inward or outward more than expected, whether any spot presses uncomfortably, and whether the midfoot feels like it’s offering support or just padding.
- Check the insole. Lift it out if you can. A flat, thin factory insole with no shape at all is a sign you’ll likely need to add an aftermarket insert, so check there’s enough depth in the shoe to accommodate one without crowding the toe box.
If a shoe passes the torsion and heel tests but still feels wrong on the walk, trust the walk. Construction tests predict a lot, but they don’t replace ten minutes on your feet.
Insoles versus custom orthotics: which one do you actually need?
Off-the-shelf insoles are the right starting point for most people. They help with general comfort and mild correction, and they’re cheap enough to experiment with. When choosing one, match the insole’s arch height to your own result from the wet-print test rather than grabbing whatever’s labelled “support” on the shelf, since an insole built for a high arch will sit awkwardly and unhelpfully under a flat foot.
Custom orthotics are a different tier entirely. They’re built from a 3D cast of your actual foot, which lets a clinician correct for deformities or asymmetries that a generic insole simply can’t address, and that fabrication process is what separates them from OTC options. They also transfer between shoes, which off-the-shelf insoles rarely do well.
Before you spend money on either:
- Trim-to-fit insoles need trimming carefully at the toe, following the shoe’s own insole as a template, not guesswork.
- Check the heel cup depth on any insole you’re considering; a shallow cup won’t hold the heel in place any better than the factory insole did.
- Weigh cost against use: a £20 insole makes sense for occasional discomfort, while a properly casted orthotic is a bigger outlay reserved for a genuine, ongoing mechanical problem.
See a podiatrist rather than continuing to self-treat if you notice persistent pain that doesn’t ease after switching to the correct shoe category, a foot shape that seems to be changing over time, or if a proper trial of category-appropriate shoes and OTC insoles hasn’t helped after several weeks.
Common mistakes and the downsides of getting it wrong
Getting arch support backwards isn’t a minor inconvenience. Motion-control shoes on a high arch remove flexibility the foot needs to absorb shock; cushioned neutral shoes on a badly flat foot offer no resistance to overpronation. Both mismatches strain the body in ways that show up weeks or months later, not immediately.
- Buying on brand or influencer recommendation instead of arch type and fit.
- Ignoring wear patterns on old shoes that were already telling you something.
- Wearing shoes well past their useful life. Midsole cushioning degrades gradually, and a replacement window of roughly 300 to 500 miles is the standard guidance for when support has genuinely worn out, even if the upper still looks fine.
- Risking plantar fasciitis, posterior tibial tendon strain, or knee and hip discomfort from the compounding effect of the wrong support, which podiatrists link directly to poor shoe matching.
Why you can trust this guide
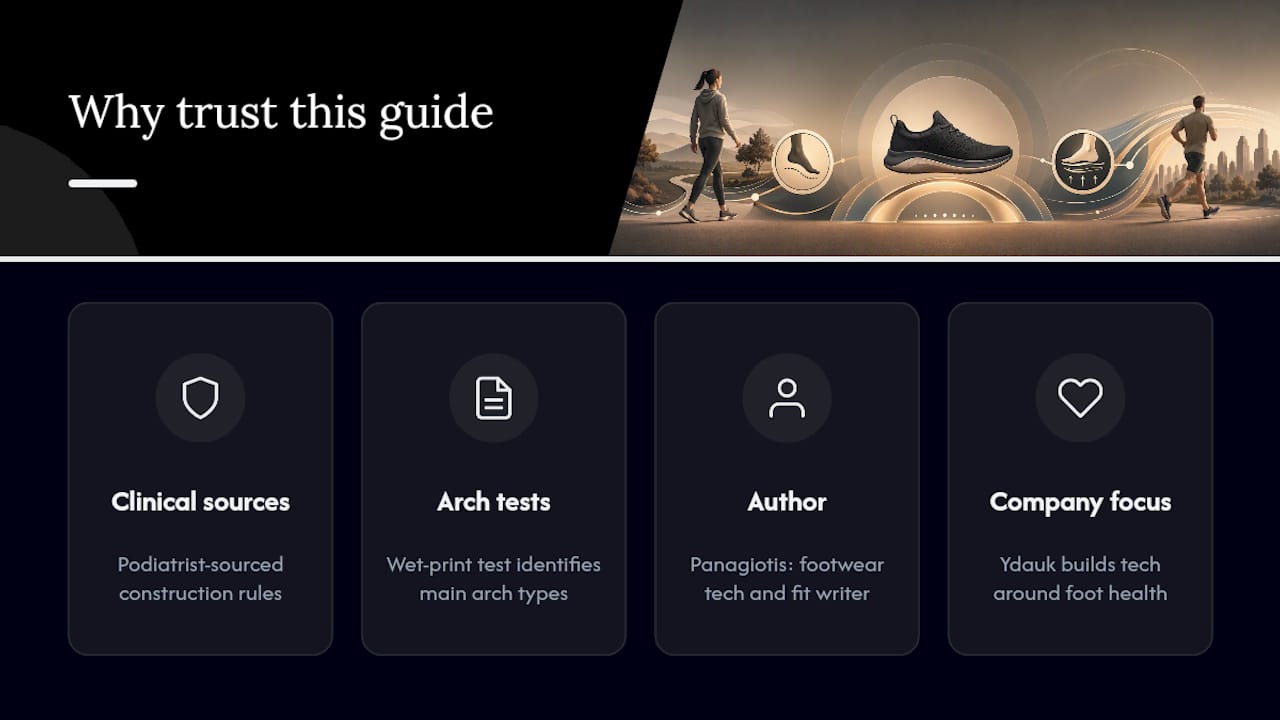
This guide draws on podiatrist-sourced construction rules, not marketing copy: firm medial posts and rigid heel counters for flat feet, cushioned flexibility for high arches, and the wet-print test is a commonly used way to tell the main arch types apart. Panagiotis, who covers footwear technology and fit for Ydauk, has written related buying guides including a step-by-step guide for flat feet and a breakdown of shoe features that affect foot health.
Ydauk’s own product development sits within its footwear technology programme, built around foot health and comfort rather than seasonal styling.
A three-step checklist I’d actually use in a shop
Here’s the short version, stripped of anything that isn’t necessary. First, test your arch with the wet print, or check the wear pattern on your current shoes if you’re in a hurry. Second, pick two or three models within the matching category and try all of them, not just the first one that looks right. Third, walk in each pair for a good ten minutes and let comfort make the final call.
One more thing worth saying: don’t be shy about asking for a wide fit or trying an alternate last within the same shoe line. Comfort varies more between models than most people expect, even within a single brand.
— Panagiotis
How YDA Technology fits into this picture
If the torsion test, the heel-counter check, and the cushioning trade-offs above have you thinking about what’s actually inside a shoe’s construction, that’s exactly what YDA Technology is built around. Ydauk designs its footwear with foot health and energy efficiency as the starting point, rather than adding support as an afterthought to a style-first shoe.
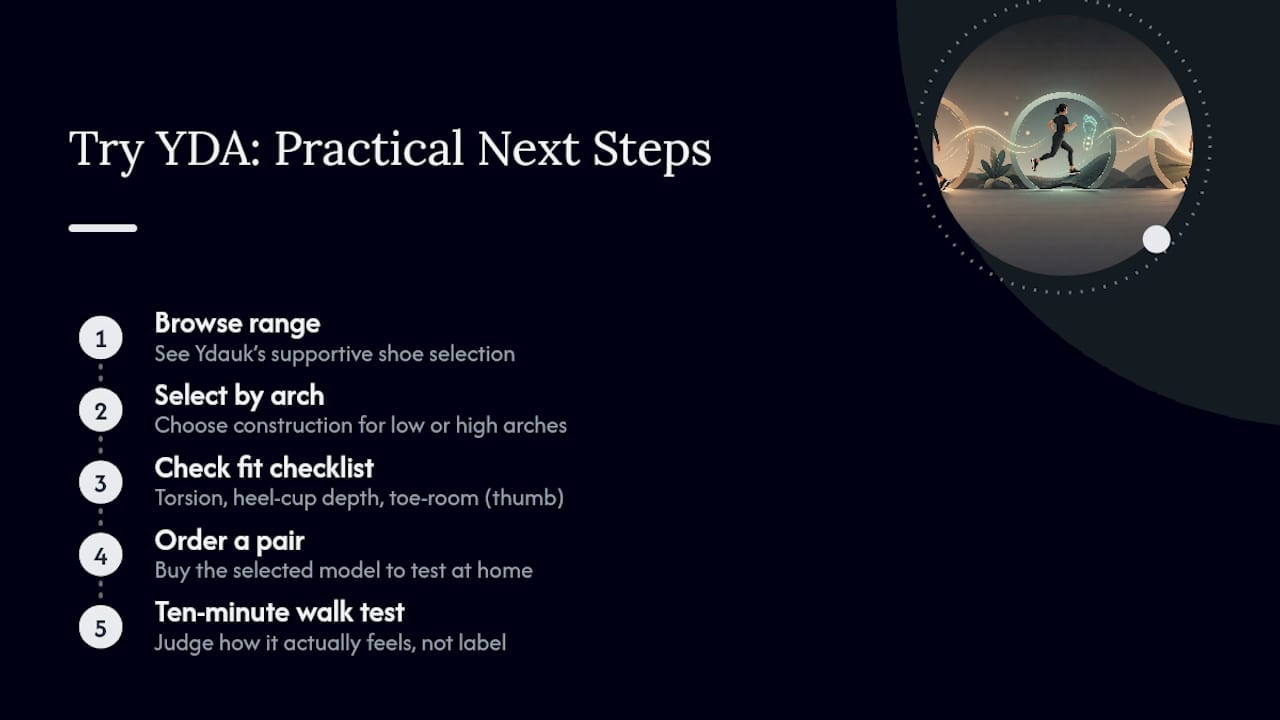
For low arches, that means construction that respects the need for a firm heel counter and controlled motion. For high arches, it means genuine cushioning and flex rather than a rigid platform bolted on for marketing purposes. If you’ve just worked out your arch type using the wet-print test above, the practical next step is to browse Ydauk’s supportive shoe range and try a pair against the fit checklist covered earlier: torsion resistance, heel-cup depth, and that thumb’s width of toe room. Order a pair, run it through the same ten-minute walk test described above, and judge it on how it actually feels on your foot, not on the label.
Sources
- How to determine your foot arch type - Mayo Clinic Health System
- Best shoes for your foot type: A podiatrist’s guide to | DPM
- Prevention — best walking shoes for flat feet (podiatrist insights)